Bill Allocations
This section identifies how to allocate a bill in Ad Manager, version 5.7.2 or later. For information on allocating invoices in earlier versions, see the Allocations section.
Contents |
Set Up
Each bill in Ad Manager can be allocated so that the appropriate monies are associated with the correct time frame. Before you begin the allocation process, you can specify which postings and/or reservations are included as part of this bill definition. While not a mandatory step, it can make it easier to find the postings and/or reservations when allocating monies. To specify which items to include, go to the Applies to tab on the Bill Definition.
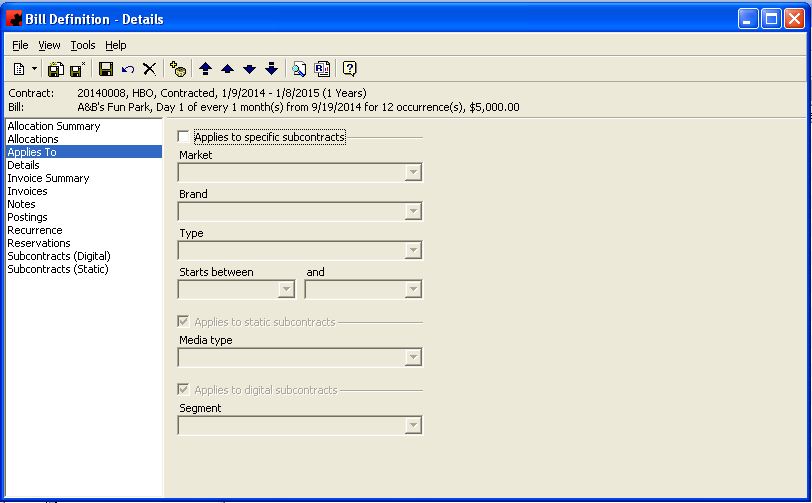
From here, you can specify that you wish to include postings and/or reservations from specific subcontracts. To do this, click on “Applies to Specific Subcontracts”.
In the top portion of the screen, you can select the specific markets, Brands, Subcontract Types and/or Subcontract Dates you want to include in this allocation. If you wish for this bill definition to allocate static media Subcontracts, click “Applies to static subcontracts”. If you wish to include only specific media types, select the appropriate media type. If you wish for this bill definition to allocate digital media subcontracts, click “Applies to digital subcontracts”. If you wish for this bill definition to include only specific segments, select the appropriate segment. Please note that you can include both static and digital subcontracts when using the Applies to, if appropriate.
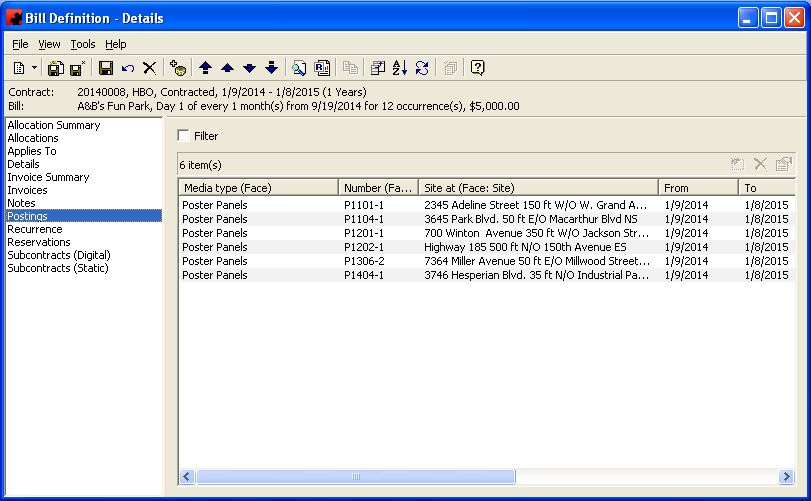
After you have set your criteria, you can see which postings have been included, based on your selections. You can do this by clicking on the Postings tab. If the list does not include/exclude postings as appropriate, return to the Applies To tab and make the appropriate changes.
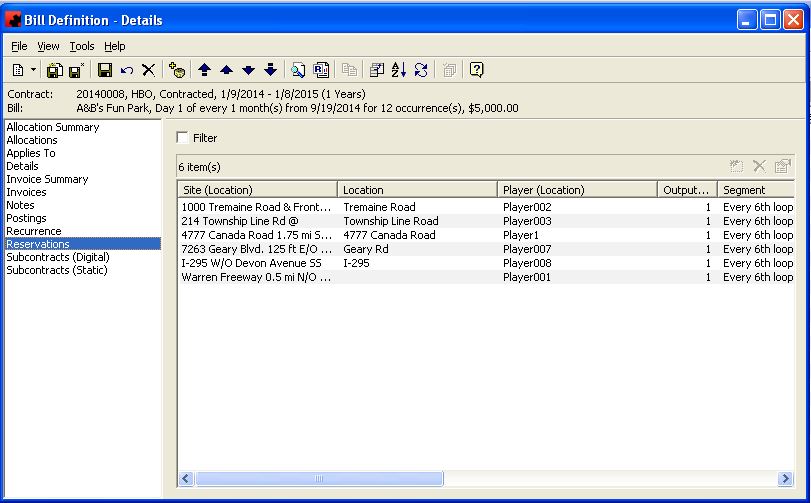
After you have set your criteria, you can see which reservations have been included, based on your selections. You can do this by clicking on the Reservations tab. If the list does not include/exclude postings as appropriate, return to the Applies To tab and make the appropriate changes.
Allocating a Bill
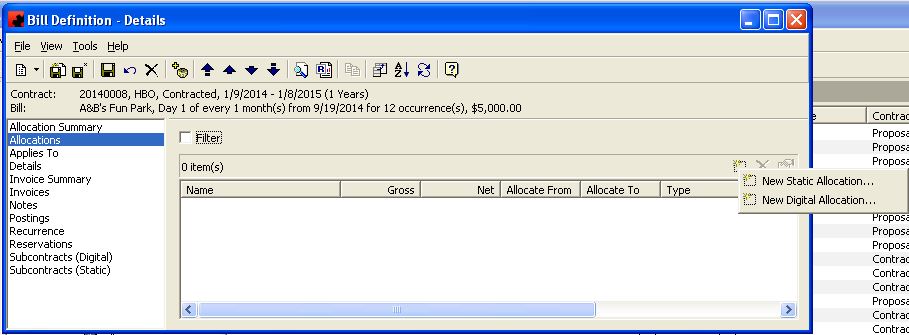
To allocate a bill, go to the Bill Definiton – Allocation Tab and click New
You will be able to select whether you wish to add a static media allocation or a digital media allocation.
Identify the Name of this Amount (e.g. Total Allocation, January Amount, Poster Amount, etc); enter the Gross and Net dollars, select the Method to use to allocate the dollars, and if this amount applies to a period of time. To use Posted/Covered dates instead of Scheduled dates to complete the calculation, uncheck the box. If desired, specify the number of decimal places to round to by entering a value in Precision (the default is "2", down to the penny).
Once you have completed the criteria for this Allocation Amount, click Save.
Static Media Allocation
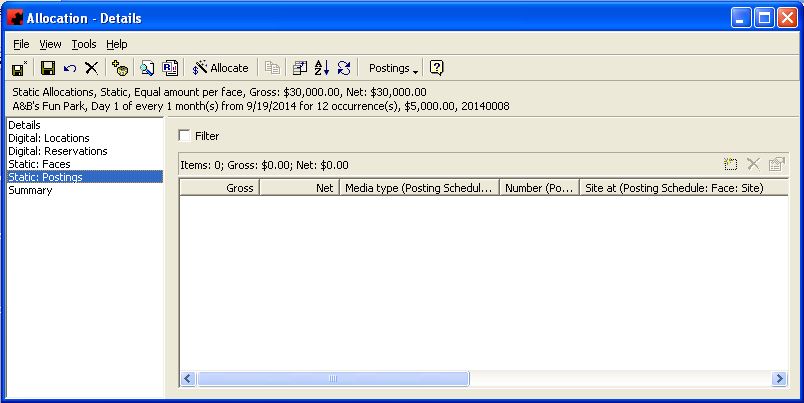
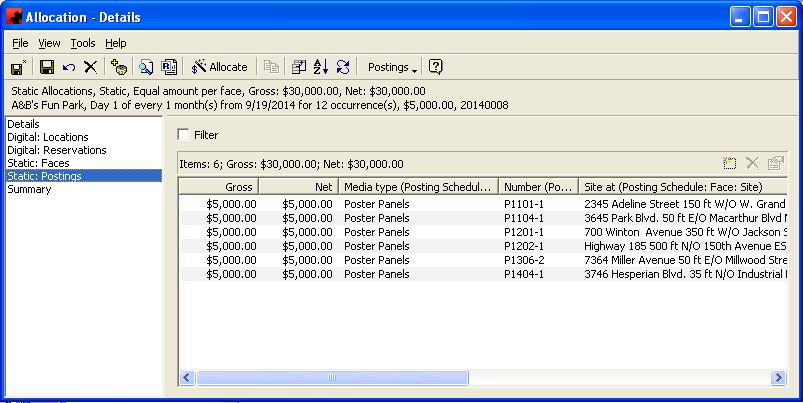
If you wish to assign postings to this allocation, go to the Static - Postings page. There are 2 ways you can add postings to this page.
Allocating from the New button
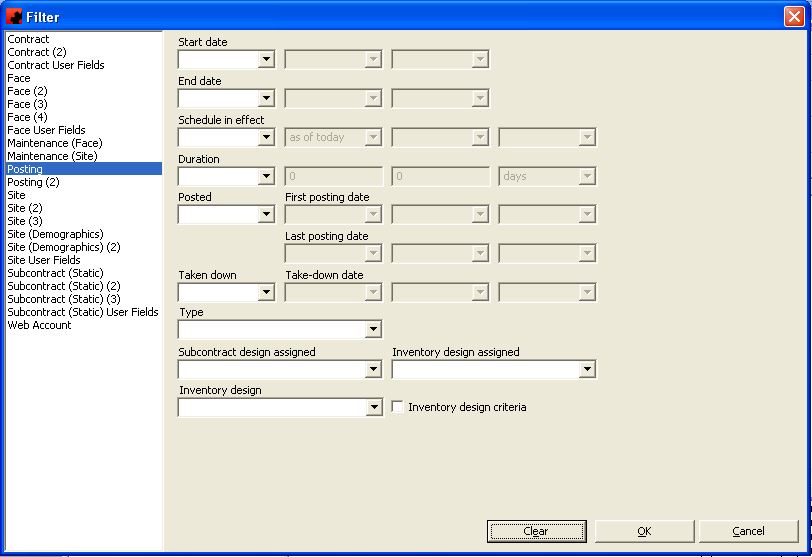
From the Postings page, click the New button to select which postings you wish to associate with this allocation. When you click New, a filter will appear, allowing you to select the criteria to use to filter the list of postings associated with this Bill Definition.
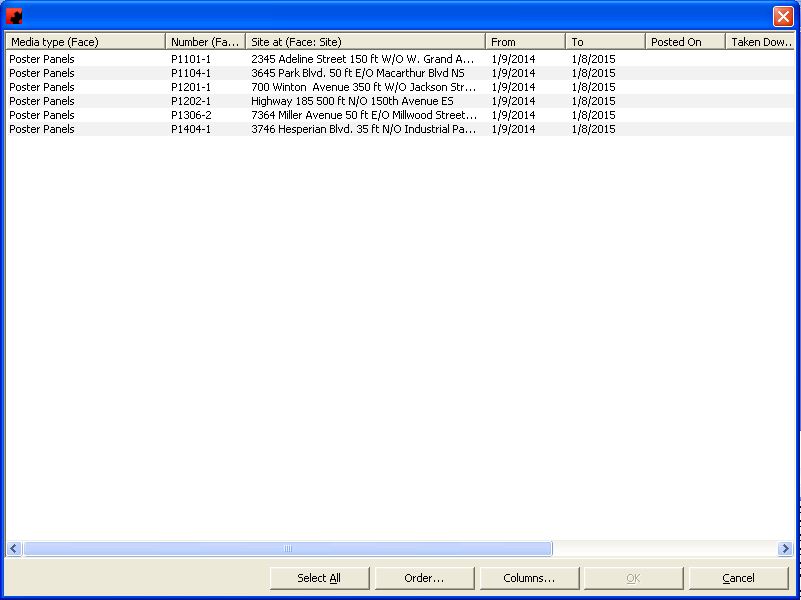
After you enter any criteria and click OK, a list of postings that meet your criteria will appear. You can select the posting(s) you wish to include on this allocation by highlighting or by selecting multiple postings as appropriate and clicking OK.
Allocating from the Postings button
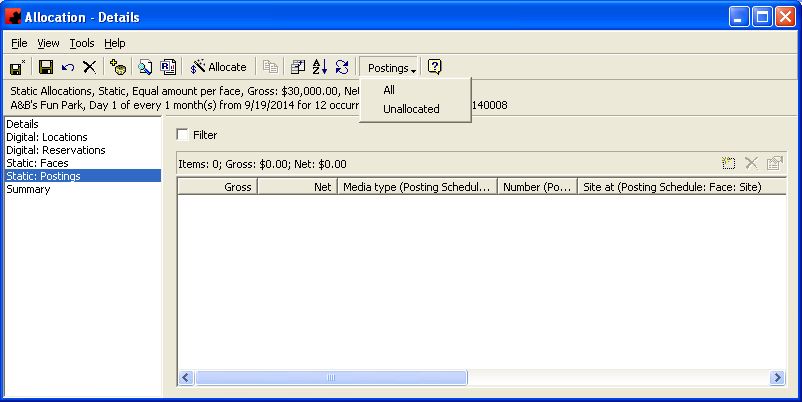
From the Postings page, click on the Postings button at the top of the screen. You can then choose to see either a full list of postings assigned to this Bill Definition, or you can choose to see only those that are currently Unallocated.
Highlight the Posting(s) you wish to allocate, and drag them over to the Static - Postings page.
Allocating Postings
Once you have added the postings, you can click the Allocate button to have Ad Manager calculate the monies to associate with each posting. The monies will appear next to each Posting. If you wish to change some of the allocations, you will need to delete them and either add them to a new allocation, or change the criteria set on the Details page.Please note that Ad Manager will automatically Allocate monies when you click the Save button.
NOTE: If you remove a posting before saving, Ad Manager will recalculate the allocations based on the list of postings present.
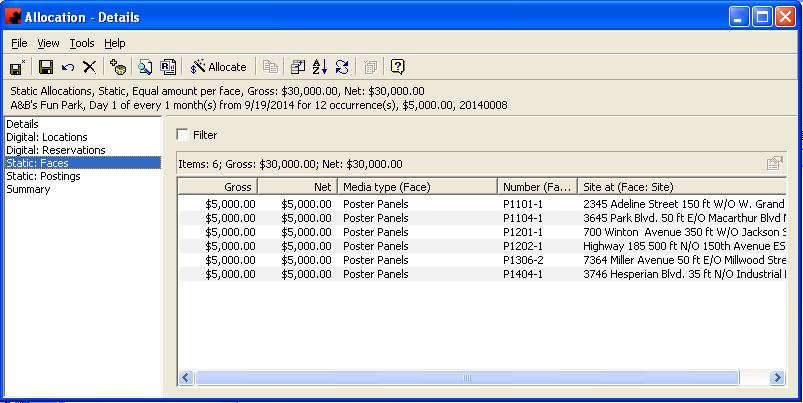
A listing of all Faces that are included as part of this allocation, along with their total amount allocated (based on all related postings) can be found on the Static: Faces page.
Allocating Custom Amounts
If you selected "Custom amount per face", you will need to go to the Static: Faces tab (NOT the Static: Postings tab) and enter the desired amount for each face. To enter the amount for a Face, double click on it, select the appropriate amount type, enter the amount and click OK. You can select multiple Faces and right click to choose Update if you wish to apply the same amount to multiple faces.
Digital Media Allocation
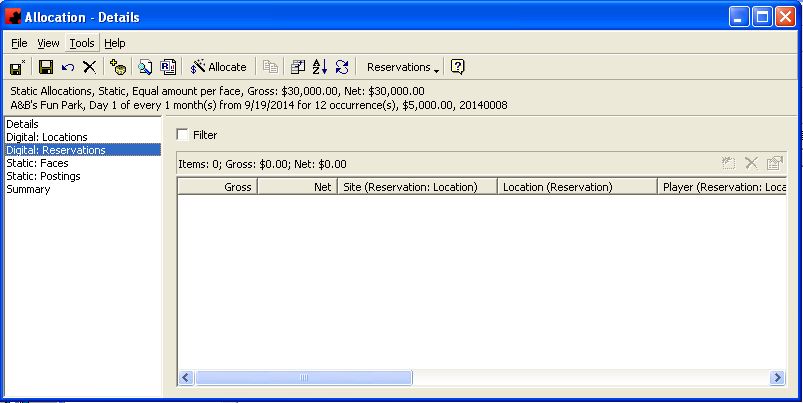
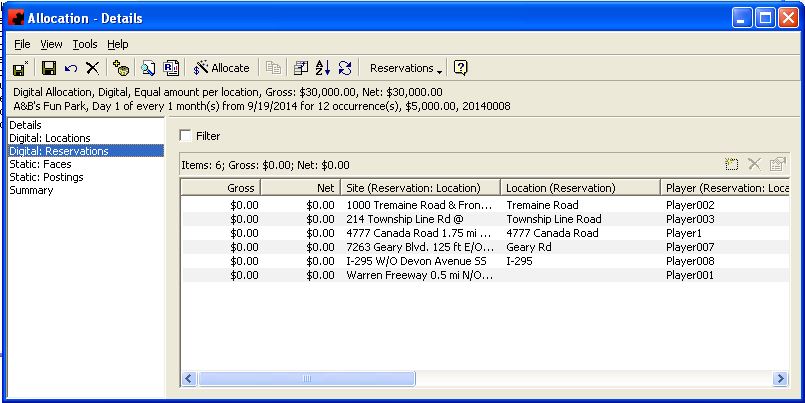
If you wish to assign reservations to this allocation, go to the Digital- Reservations page. There are 2 ways you can add reservations to this page.
Allocating from the New button
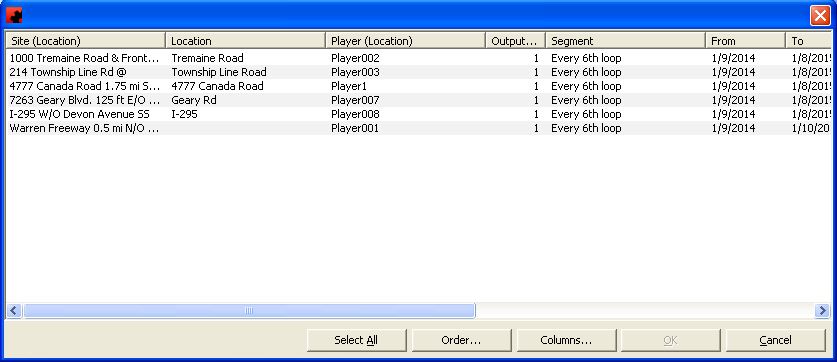
From the Reservations page, click the New button to select which reservations you wish to associate with this allocation.
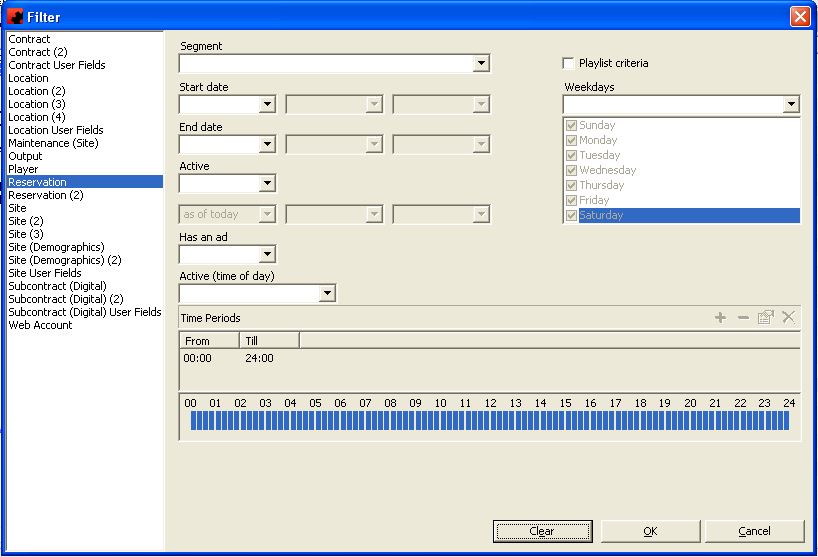
When you click New, a filter will appear, allowing you to select the criteria to use to filter the list of reservations associated with this Bill Definition.
After you enter any criteria and click OK, a list of reservations that meet your criteria will appear. You can select the reservation(s) you wish to include on this allocation by highlighting or by selecting multiple reservations as appropriate and clicking OK.
Allocating from the Reservations button
From the Reservations page, click on the Reservations button at the top of the screen. You can then choose to see either a full list of reservations assigned to this Bill Definition, or you can choose to see only those that are currently Unallocated.
Highlight the reservation(s) you wish to allocate, and drag them over to the Digtial - Reservations page.
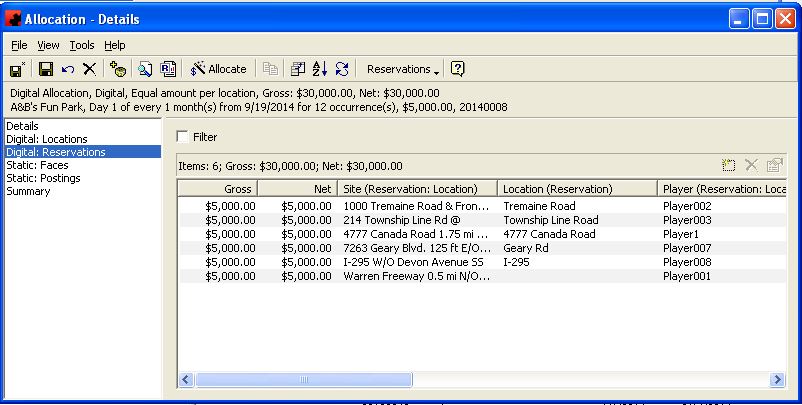
Allocating Reservations
Once you have added the reservations, you can click the Allocate button to have Ad Manager calculate the monies to associate with each reservations. The monies will appear next to each reservation. If you wish to change some of the allocations, you will need to delete them and either add them to a new allocation, or change the criteria set on the Details page. Please note that Ad Manager will automatically Allocate monies when you click the Save button.
NOTE: If you remove a reservation before saving, Ad Manager will recalculate the allocations based on the list of reservations present.
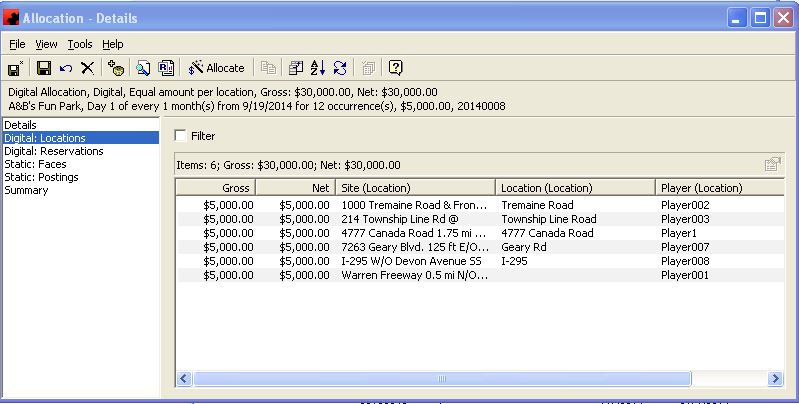
A listing of all Locations that are included as part of this allocation, along with their total amount allocated (based on all related postings) can be found on the Digital: Locations page.
Allocating Custom Amounts
If you selected "Custom amount per location", you will need to go to the Digital: Locations tab (NOT the Digital: Reservations tab) and enter the desired amount for each location. To enter the amount for a Location, double click on it, select the appropriate amount type, enter the amount and click OK. You can select multiple Locations and right click to choose Update if you wish to apply the same amount to multiple Locations.
Allocating the Entire Bill
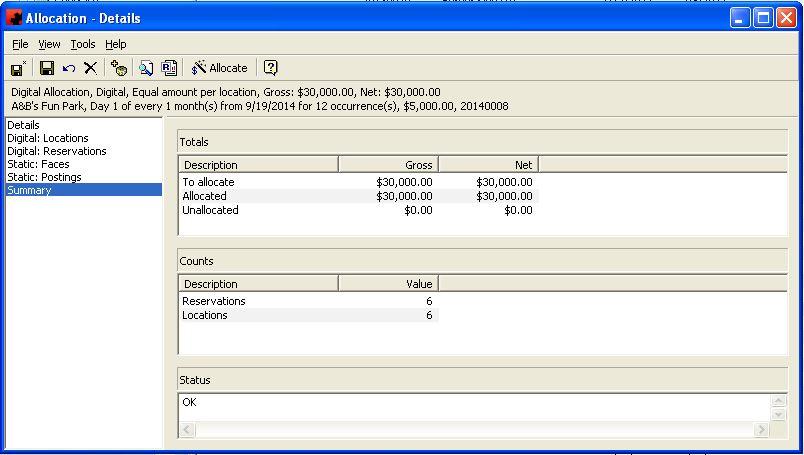
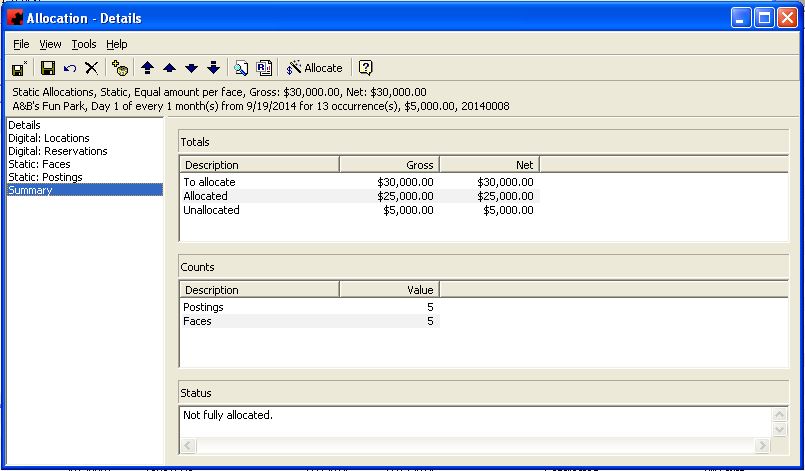
As you work on allocating each Bill, Ad Manager will update its status. If you wish to see whether the Bill is updated, go to the Summary Page.
This will tell you whether all monies have been allocated, and if there are any issues with the allocation. If there is an issue, the appropriate message will appear in the Status window.
Continue to create the Allocation Amounts, as necessary, until all revenue has been assigned to an Amount. The Gross and Net Amount fields will automatically populate with the unallocated amounts when you create new Allocation Amounts.
Finding Unallocated Revenue
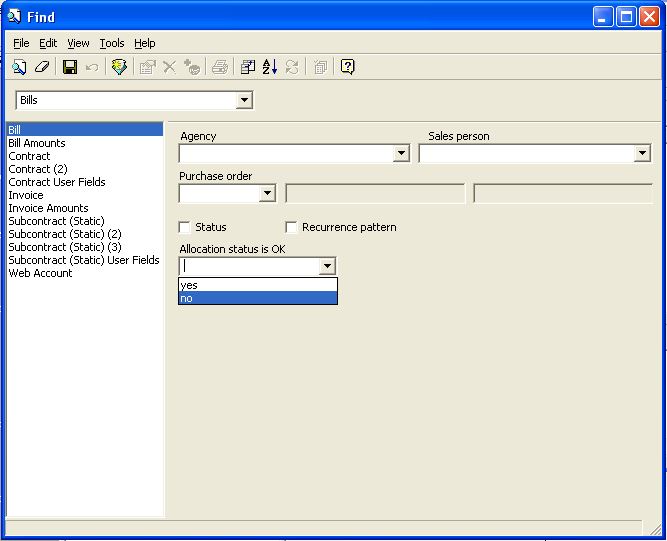
If you wish to see which Bills have (or have not) been fully allocated, go to the Bills Finder, and make the appropriate selection.
When looking at a Bill Definition, you can go to the Allocation Summary tab to see if there are any issues. If there is a problem with the allocation, you can review the issue in the Status Window
NOTE: If users add and remove either a Posting or Reservation to the Subcontract's scheduling, it will display that the Allocation is not OK. However, if all monies have been allocated, and a new Posting or Reservation is added without one or more being removed, the Allocation will display as still being OK. It is the users responsibility to reallocate the monies in this situation because Ad Manager considers all of the monies as being already allocated.
Viewing Bill Allocations
If you wish to see what allocations have been applied to a bill, you can go to the Allocations tab. From this tab you can see a list of all allocations, along with the monies assigned to the allocation and type of allocation that was applied. To review an allocation, double click on it to open it.
Viewing Allocated Revenue
Ad Manager has a utility that allows you to easily view your allocated revenue. For information on this tool, click here.
