Allocations
Please note this only applies to Ad Manager versions 5.7.1 and earlier. For information on how to allocate in versions 5.7.2 and later, go to Bill Allocations.
One of the big concerns of any Leasing Department is to have the ability to quickly and accurately allocate revenue to Faces and in turn to Leases. This is especially important with regards to determining Percentage Lease Payments as you need to know how much money the Face(s) on the Lease generated in order to determine the amount to which you apply the percent. As well, you may wish to determine how profitable a particular Lease/Site/Face is to your company.
Using the data and tools provided in Ad Manager, this becomes a much more manageable process. You will be able to set up your Allocation Amounts in advance, determine if all Revenue dollars are allocated, and, provide revenue information to your Payees dependent upon how you pay each one.
NOTE: Ad Manager will only display and calculate Revenues from Line Items on the Bill Definitions that have the GL Revenue Code set up as Face Generated. As well, it is important to note that the Revenue Calculations in Ad Manager are based on Face Days which is a much more accurate method as monies are allocated dependent upon how many days in each month the client is advertising. If the Posting Schedules cross from one month to another, each month will receive a portion of allocation based on the number of days the ad appeared.
Contents |
Setting up Allocations
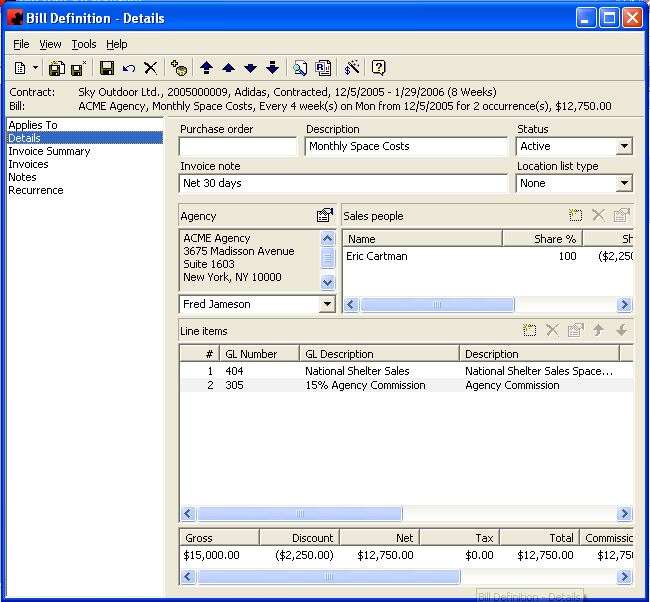
To set up the allocations, you use the Bill Definitions that you have entered for your Invoicing. You can either create the Allocation amounts as you set up the Bill Definition, use a Finder to locate a particular one or work from a list of All Bill Definitions.
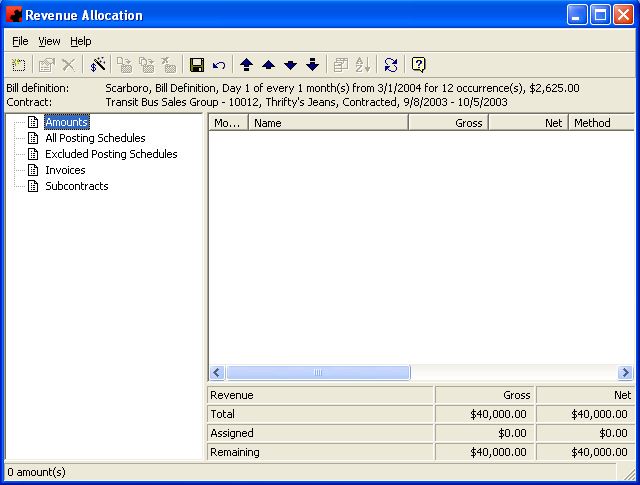
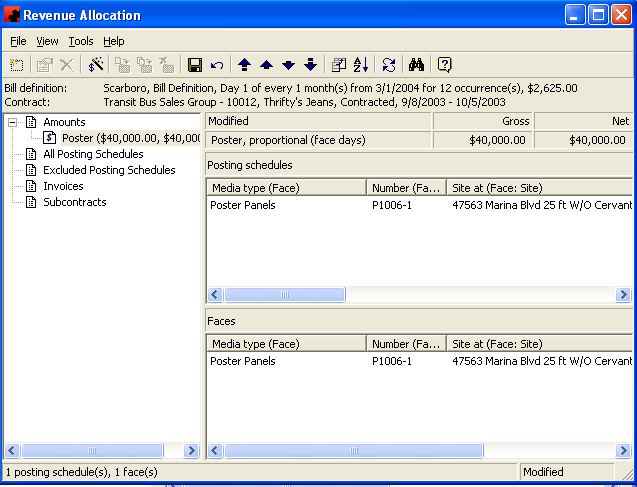
If working from a list, highlight the Bill Definition you are allocating and click the Allocate Revenue button (![]() ) in the toolbar. The following window will appear which will be your worksheet for creating the Allocation Amount(s) and assigning the Posting Schedule(s) to each.
) in the toolbar. The following window will appear which will be your worksheet for creating the Allocation Amount(s) and assigning the Posting Schedule(s) to each.
Amounts are the definitions of the Allocation you create. They will display the Posting Schedules that have been added to them, the Faces represented by the Schedules and the amounts allocated and remaining to be allocated in Gross and Net dollars.
All Posting Schedules will display a list of all Faces that are currently scheduled for this Contract in the right side of the screen. NOTE: This list could change, depending upon how far in the future you have scheduled the Contract and/or any changes that you might make to the scheduling or the Bill Definition.
Excluded Posting Schedules will display a list of all Posting Schedules that have not been added to an Amount Definition.
Invoices will display a list of all Invoices created from this Bill Definition.
Subcontracts will display a list of all Subcontracts associated with this Bill Definition.
Creating Allocation Amounts
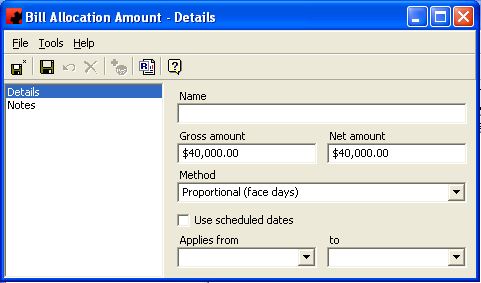
To create an Allocation Amount, click the new button in the toolbar. The following window will appear.
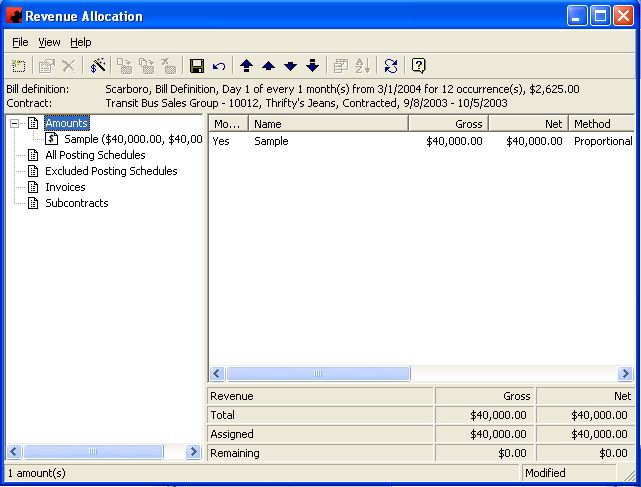
Identify the Name of this Amount (e.g. Total Allocation, January Amount, Poster Amount, etc); enter the Gross and Net dollars, select the Method you wish to use to allocate the dollars and if this amount applies to a period of time. If you wish to use Scheduled dates instead of posted dates to complete the calculation, check the box. Once you have completed the criteria for this Allocation Amount, click Save. The newly created Amount(s) will now appear on the left side of the window under Amounts. Continue to create the Allocation Amounts, as necessary, until all revenue has been assigned to an Amount.
NOTE: The Gross and Net Amount fields will automatically populate with the unallocated amounts when you create new Allocation Amounts.
Calculating Allocations
Next you need to apply the Amount(s) to the Posting Schedule(s) as necessary. Click on All Posting Schedules to get the list, highlight which Postings are going to be allocated using an Amount definition and click and drag them to the Amount; or use the Move to button (); or right click and choose "Move to" and select the Amount from the list. Click on the Calculate button (
![]() ) in the toolbar and Ad Manager will allocate the amount to the Posting Schedule(s) as per the criteria set up on the Amount. Continue to select your Posting Schedules, assign to the corresponding Amount and Calculate as necessary.
) in the toolbar and Ad Manager will allocate the amount to the Posting Schedule(s) as per the criteria set up on the Amount. Continue to select your Posting Schedules, assign to the corresponding Amount and Calculate as necessary.
NOTE #1: You may not be able to calculate all Amounts, depending upon how long the Contract has been scheduled.
NOTE #2: If you have more than one Amount defined, you may decide to click on Excluded Posting Schedules and work from this list. As Schedules are associated with Amounts, they will drop from the list, so that the remaining Schedules are ones that have not been associated. This is also a good check to ensure that all valid Posting Schedules have been associated with an Amount.
Once all Amounts have been calculated, click the Save button on the toolbar.
You will now notice that when you select each Amount, the list of Posting Schedules and corresponding Faces will appear on the right side of the screen as well as their allocated Revenue amounts. NOTE: If there is more than one Posting Schedule per Face, you will notice that the Face amount will be the total of the Posting Schedule amounts.
To remove Posting Schedules that were applied in error to an Allocation Amount, select the Amount to get the list of Schedules, highlight the one(s) that you wish to remove from this Amount, right click and choose Remove or click on the Remove button () in the toolbar. These Schedules will now appear under Excluded Posting Schedules.
To move Posting Schedules from one Allocation Amount to another, select the Amount to which they are currently assigned to get the list of Schedules, highlight the one(s) you wish to move to another Amount, right click and choose Move to, or click on the Move to () button in the toolbar. You will then see a list of all other Amounts that have been set up. Choose the one to which you are moving the Schedules and click OK.
NOTE: If you move(or remove) an allocated Posting Schedule, you will need to recalculate the affected Allocation Amounts.
Reviewing Allocated Revenue Status
Ad Manager provides you with tools that you may wish to use to ensure that all of your Revenues have been allocated prior to calculating your Percentage Leases.
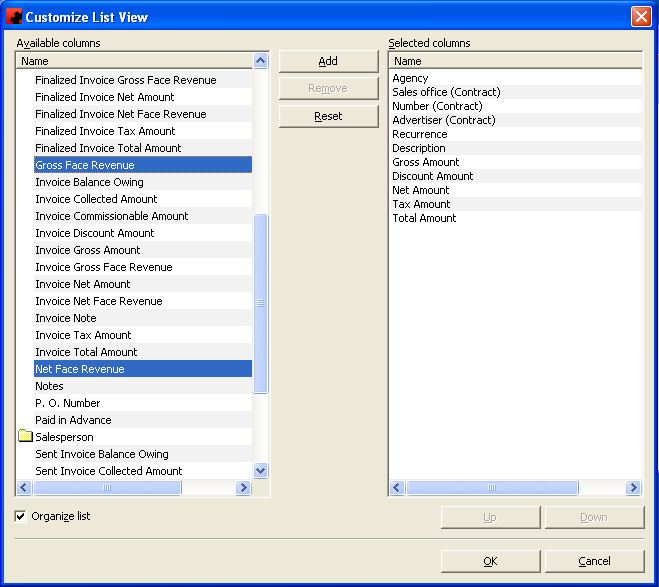
Method #1: Customize the View in a list of Bill Definitions and add the columns "Gross Face Revenue" and "Net Face Revenue". At a quick glance you can compare these amounts against the Net and Gross Values of the Bill Definition to determine if there is Face Generated Revenue on the Bill Definition, and if so, set up allocation amounts and calculate as required. If you need to see more detail, double click the Bill Definition on the list to open it.
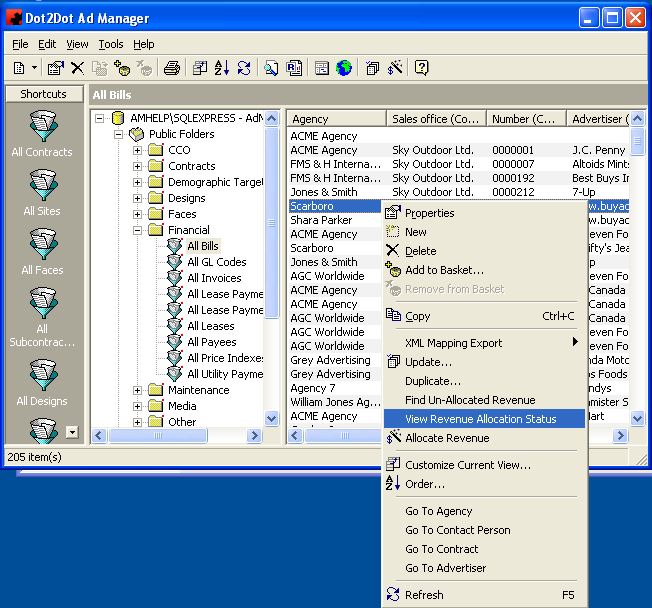
Method #2: If you wish to determine the allocation status of one Bill Definition, highlight it in the list, right click and choose View Revenue Allocation Status. Ad Manager will inform you if all Revenue has been allocated or if there is still an outstanding amount remaining. If there is still an outstanding amount, double click the Bill Definition to open it, click the Allocate Revenue button in the toolbar and complete the Allocation.
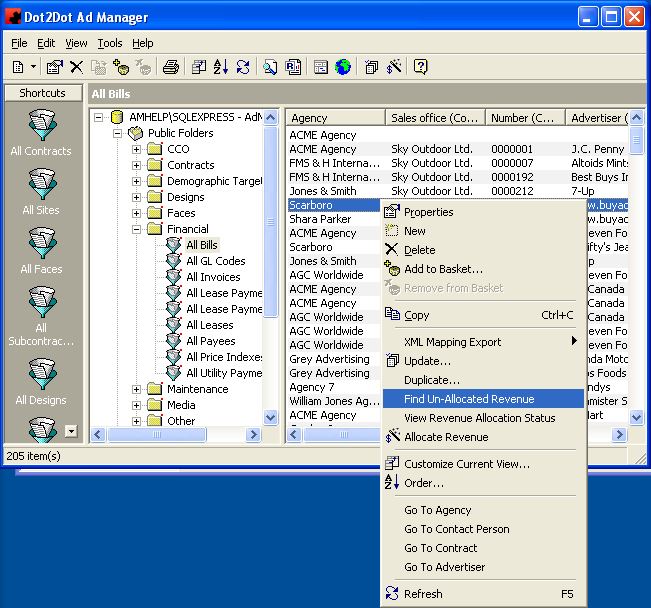
Method #3: If you wish to find any Un-Allocated Revenues against the Bill Definition(s), highlight the one(s) in the list you wish to check, right click and choose Find Un-Allocated Revenue. Ad Manager will check and then provide you with a list of any Bill Definitions that have outstanding amounts. You can work from this list, double clicking each item and completing the Allocation as necessary. You can also customize the list to show Gross and Net Face Revenue.
Viewing Allocated Revenue
Ad Manager has a utility that allows you to easily view your allocated revenue. For information on this tool, click here.
