XML Mapping Export Tool
USING THE XML MAPPING EXPORT TOOL IN AD MANAGER
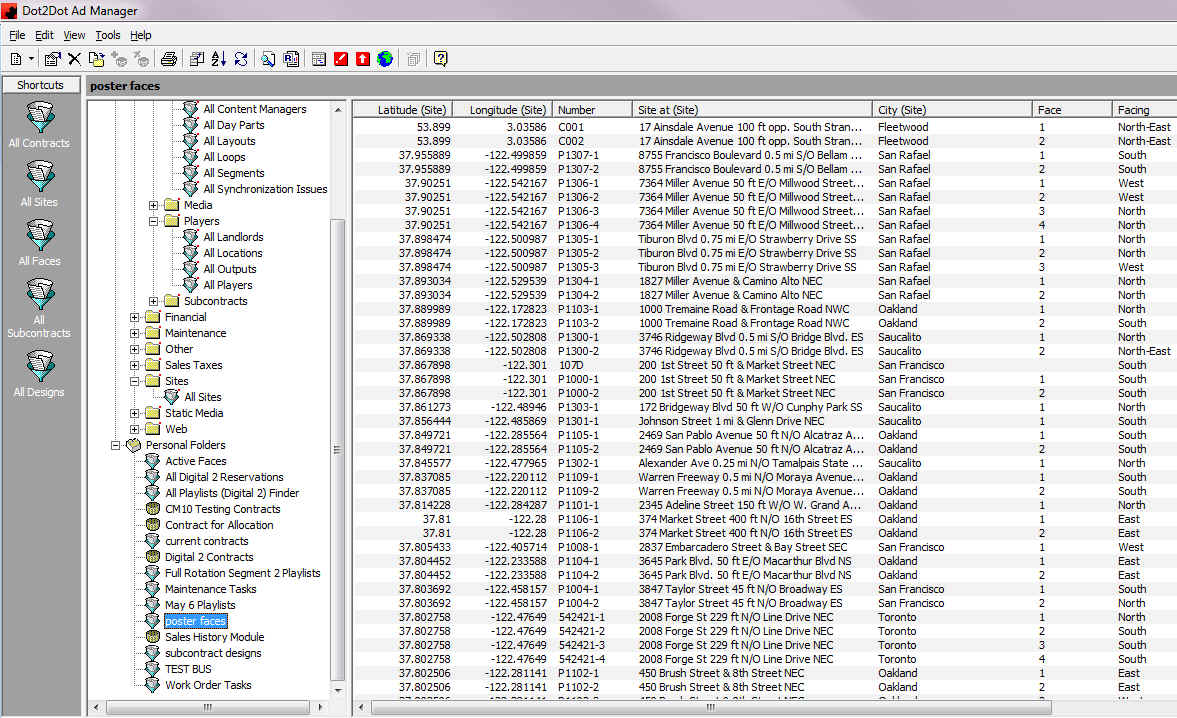
• NOTE 1: In order to use the XML Mapping Export Tool, users must first make sure that the inventory has been “geocoded” and contains data in the Latitude and Longitude columns.
• NOTE 2: In order to import the XML file to either Google and/or Bing maps, users must have an account with the respective web site.

• The XML Mapping Export Tool can be run from a list, basket and/or finder of objects which contain the Latitude and Longitude data (e.g. Faces, Sites, Players, Postings, etc.).

• To run the Tool, click Tools> XML Mapping Export and choose either Export (to export all in the list) or Export Selection (to export only those that have been selected in the list).
• This will open the XML Mapping Export window.
 • Select the Latitude and Longitude Columns from the drop down list.
• Select the Title Column(s) by clicking the Properties button and choosing from the resulting list.
• Select the Latitude and Longitude Columns from the drop down list.
• Select the Title Column(s) by clicking the Properties button and choosing from the resulting list.
• Select the Description Column(s) by click the Properties button and choosing from the resulting list.
• NOTE: These columns will be part of the export and will appear in the legend of the map.
• Select the Feed Type as appropriate for the desired use of the map data.
o NOTE: Google Chrome will need the Feed Type to be KML in order to import.
• To enter the Output folder/path, click the ellipses button to the right of the field. Choose the folder to save in and name the file. Click Save and the folder/path will be displayed in the field.
• NOTE: It is recommended that the Output folder/path be one that can be accessed by all users rather than a personal one on the local computer.
• Click <OK> and Ad Manager will create the file.


• Click <OK> to close the window.
• NOTE: If desired, users may wish to rename the newly created file with a more descriptive name rather than the number as it will display on the Google map.
• Launch Internet Explorer and choose the website into which you are going to import the data.
• Log in to your account on the chosen website.
• NOTE: In this example Google Chrome was chosen and the following steps relate to that website. • NOTE: This file can also be e-mailed to a mail recipient for them to open in their desired map website.

• go to www.maps.google.com. Click on the menu button on the top left (3 horizontal lines)

• Click on the “Your Places” option (you may need to sign in with a Google account in order to see/use this option). Click Maps

• At the bottom, click on the “Create Map” button.

• Click on “import”.

• Click on “Select a file from your computer” to browse to where you saved the Ad Manager file.

• Select the file and click <Open>.
• If the file is too large, Google will notify you as to how many records will open.
• Google will load the file of “dots” and display the object(s) on the map, as well as a legend of the data.

• Enter a Title for the map, if desired, as well as a description in the corresponding fields. • Users can also use the Google map features to edit the style, labels, etc. on the layer that has been created. However, if this is done, the legend may no longer display.