Setting up Web access
When using the various Ad Manager web interfaces, users need to be created in the system. This allows you to control access to data within the system.
Contents |
Web Role
5.7.4 and later
In order to set up the web roles in Ad Manager, you will need to import them into the system.
To import the web roles, go to the server hosting WAMP. In the \api directory of the web Ad Manager tools you will find a file called app.xml. Copy this file to a location where you can access it from within Ad Manager.
Log into Ad Manager and go to Tools-Import Web App... and select the app.xml file. The web roles will now be in Ad Manager for you to select from.
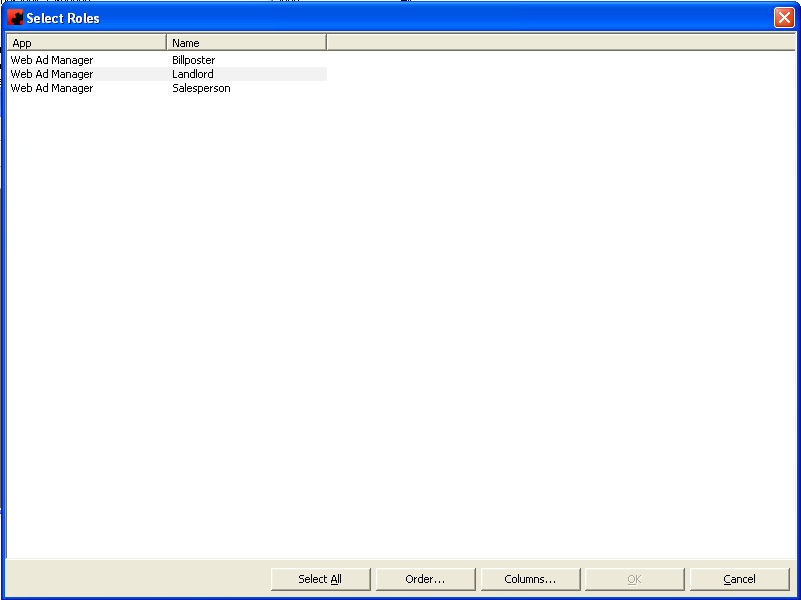
To assign a user, go to the Roles page, click New and select the desired role for this user. The selected role will affect which web access points the user will be able to see.
5.7.3 and earlier
A role called "Ad Manager Web User" needs to exist for a user to be set up with the appropriate access. To create a new web role, go to File - New - Web Role (you will need to scroll to the end). Enter the name "Ad Manager Web User" and Save. Go to the Users tab and click the New button. From here, click OK to see a list of web users that have been created. Select the web user to add and click OK, then save and close the Web Role.
Setting up Billposter Accounts in Ad Manager (all versions)
Once the Web Role information has been imported into Ad Manager, users can now Set up billposter accounts in Ad Manager
Online Sharing
In addition to setting up web roles, Ad Manager must also be configured to point to the correct Web Host Configuration. To do this, go to Tools-Options-Online Sharing. The connection name entered here must match the connection name entered during the Web Host Configuration process.
In addition, if you are using the "Location List" or "POP" online sharing features, you must enter the URL that will be the root portion of the link to be sent to clients (e.g. http ://myoutdoorcompanyname.com/ad-manager , where ad-manager is the name of the folder created when configuring Apache, and where the website files were placed).
Adding Users
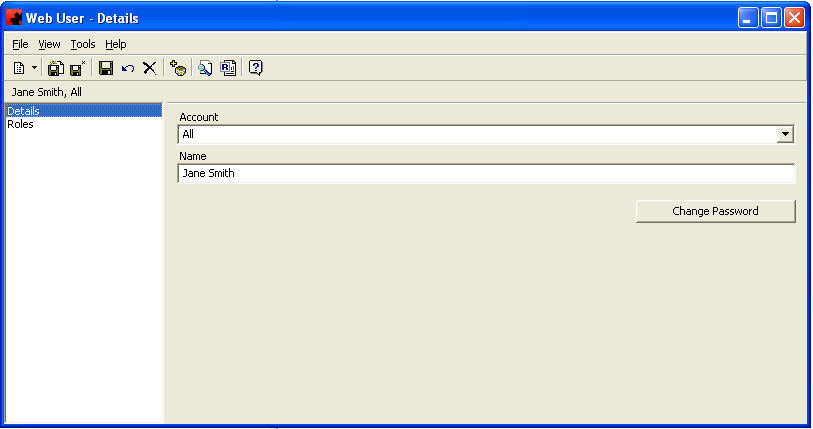
When adding a web user, you can associate it to a web account and to a web role. This will allow our web interfaces to authenticate users.
If you still have the Web Account page open, click on the Users page and click the New button. Otherwise, go to Public Folders-Web-All Users and right click in the detail view and click "New".
If the account is blank, select the account and enter the name of the person you want to have gain access to the billposter app. Click Change Password and enter a password for the user. Click Save, but do not close the Web User window.
Next, click the Roles page and click the New button. Select "Billposter" as the Role, and Save the Web User.
Once you have selected the role, double click on the role to associate this web user login with an Ad Manager billposter/salesperson. If this step is not completed, there will be no data available for the billposter or the salesperson to be able to review in the billposter app or proposal maker applications.
If you have issues with setting up the web user, please contact Dot2Dot support staff for assistance.

