Digital media module
Contents |
Digital Media Module
The Digital Media Module of Ad Manager is for users who manage digital networks and sell advertising on those networks. Contract, Player and Media information is entered in Ad Manager and published to Scala's Content Manager either manually or with a synchronization service.
Digital Media (2) Configuration
The Configuration folder contains tables which are used to enter details such as Loops, Channels, identify one or more Scala Content Manager installations, etc. Data must be entered in these tables initially in order to configure digital network advertising assets in Ad Manager. The following identifies each element of set up in the order that it is recommended each be completed.
Content Managers
Ad Manager is now able to manage advertising on Players that belong to multiple Scala Content Managers. Note that each Scala Content Manager installation will need to be identifed in Ad Manager, if users are going to use Ad Manager to manage the advertising.
Details
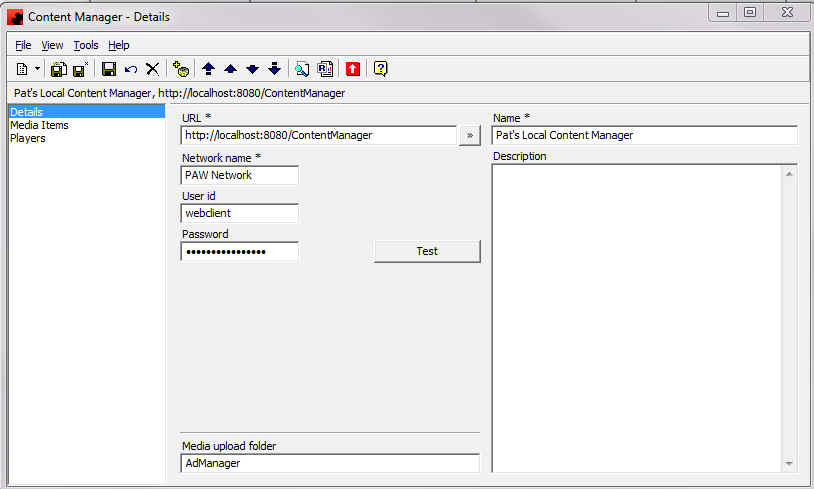
The following data will be entered on the Details page of each Scala Content Manager that is identified in Ad Manager.
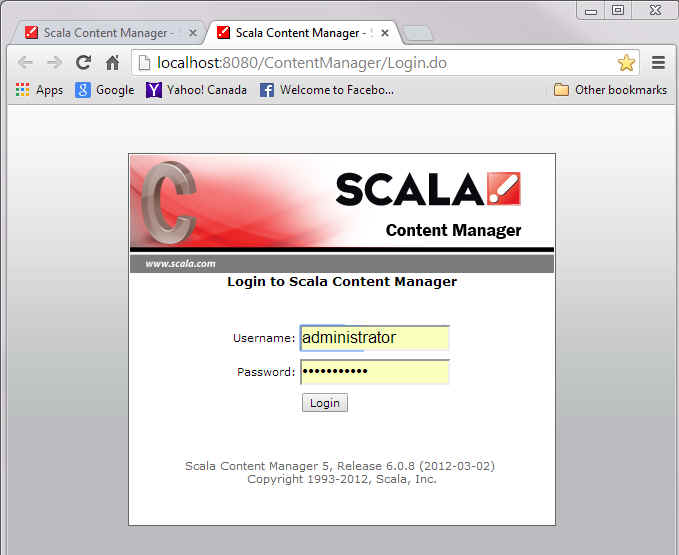
URL - In this field identify the URL for the Scala Content Manager. To verify that this information is correct, click on the arrow at the end of the field. If correct, it will launch Content Manager at the log-in screen.
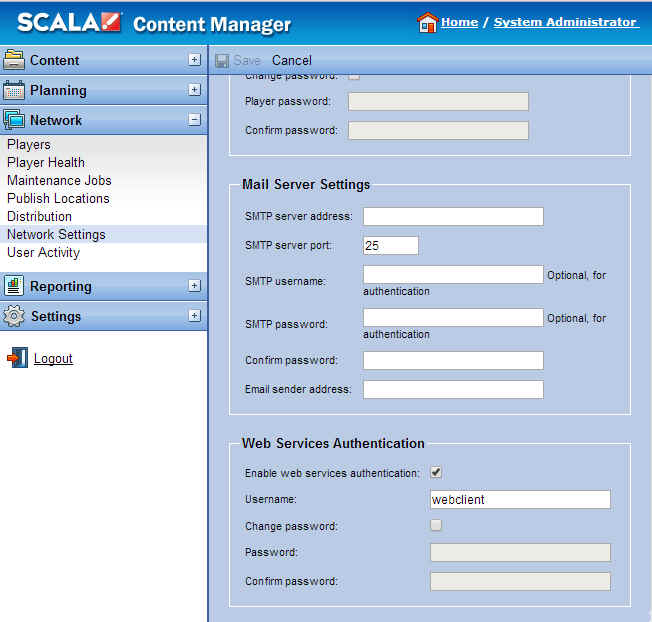
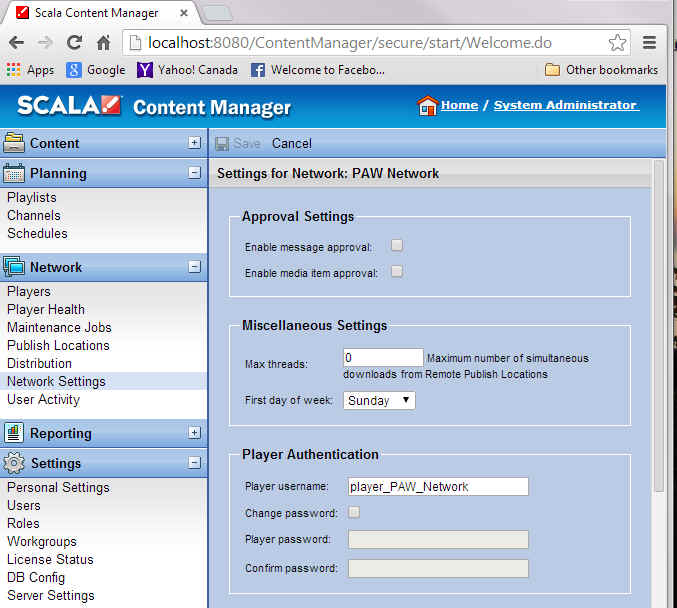
User ID- This field is used to enter the Web Services Authentication Username that has been entered in Scala Content Manager.
Password - This is the password that has been associated with the User ID in the Scala Content Manager's Web Services Authentification.
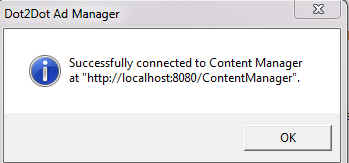
NOTE: Both the User ID and Password must match exactly what has been entered in the Scala Content Manager. Click the <Test> button to verify that Ad Manager will connect to the Scala Content Manager. If successful, this window will appear.
Click <OK> to close the window.
If the connection test is not successful, check to see if there is a page called "Legacy". If there is, go to that page, enter the connection information there and try testing again.
Name - Enter the name of the Scala Content Manager. This is for ease of identification when looking at a listing of multiple Scala Content Managers.
Description - This can be used to further describe the Scala Content Manager if more than one is being connected to Ad Manager.
Network name - Enter the name of the network that was entered during the installation of Scala Content Manager. If this is not known, check the Network Settings page in Scala Content Manager and it will appear at the top.
Media upload folder - Identify the name of the folder in Scala Content Manager into which Media items that are uploaded from Ad Manager should be placed.
Legacy Connection
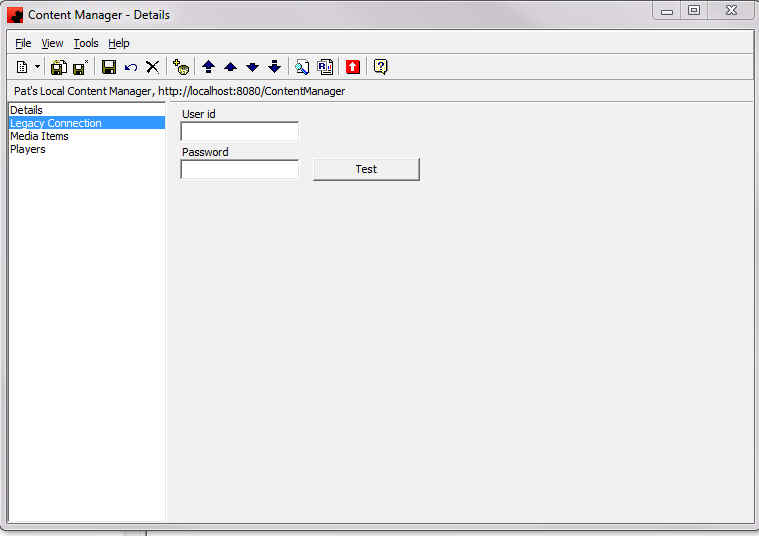
If the user, when installing Ad Manager, identifies that the Content Manager to which Ad Manager will publish is Release 10, the Legacy Connection page will need to be completed.
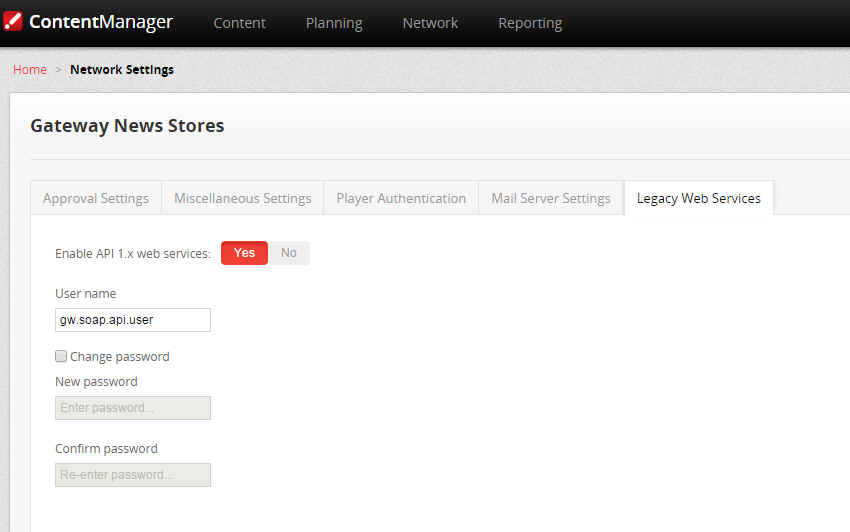
This page will contain the exact same details that were entered on the Content Manager>Network Settings>Legacy Web Services page. This must be set up in Content Manager in order for Ad Manager to be able to publish to Content Manager successfully.
User Id - Enter the same user ID that was set up in Content Manager.
Password - Enter the sames Password that was set up in Content Manager.
Click the <Test> button to verify that Ad Manager will connect to the Scala Content Manager.
Media Items
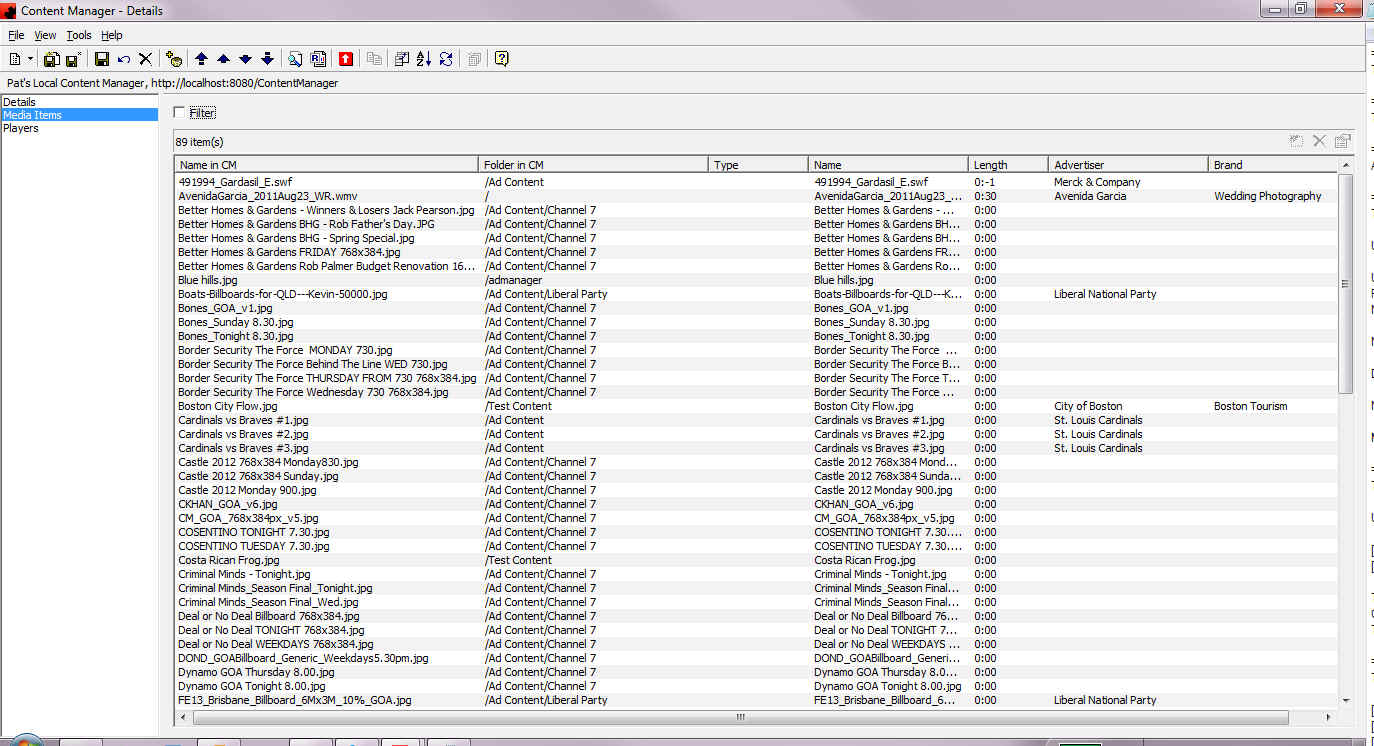
The Media Items page contains a listing of all Ad Manager Media Items associated with this particular Scala Content Manager.
As with other list pages in Ad Manager, the list can be sorted and the view can be customized to add/remove columns of data.
Users cannot add a Media Item on this page. However, existing Media Items can be deleted and users can view details about existing Media Items.
- To delete a Media Item, highlight it and click the Delete button. Ad Manager will request confirmation of the deletion prior to it being completed. Click <Yes> to complete the deletion.
- To view the properties of a Media Item, highlight it and click the Properties button. Users may also double click on a selected Media Item to view the details.
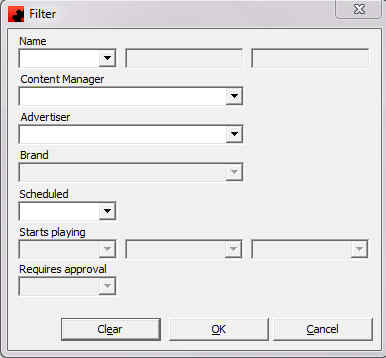
To filter the list of Media Items, in order to see a subset list, click the Filter checkbox at the top of the pane. ![]() In the following window enter the criteria for the desired Media Item(s), and click <OK>
In the following window enter the criteria for the desired Media Item(s), and click <OK>
Ad Manager will display those Media Items that match the criteria entered. When the Filter is active, a check mark will appear in the filter box. To clear the filter and see all records, click in the checkbox, and in the following window click <Clear>, followed by the <OK> button.
Players
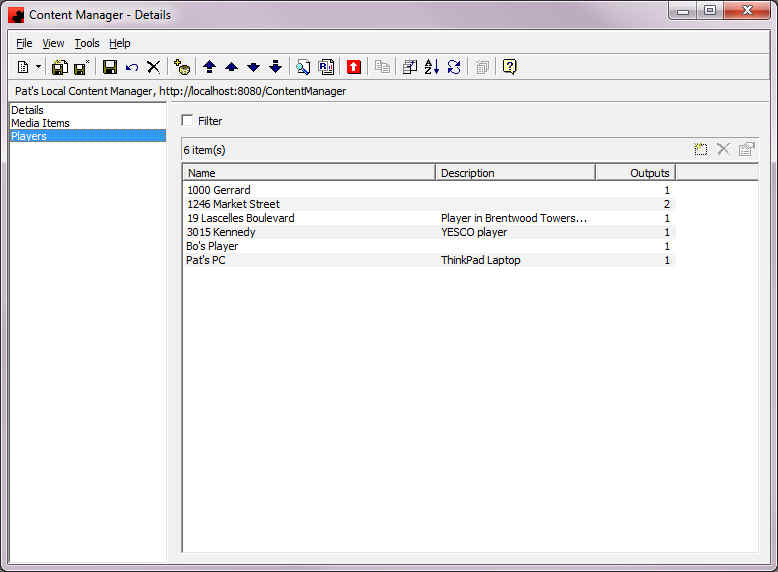
The Players page contains a list of all players in Scala Content Manager that will have advertising assets managed by Ad Manager.
As with other list pages in Ad Manager, the list can be sorted and the view can be customized to add/remove columns of data.
Users can add new Players, delete existing Players and view details about existing Players.
- To add a Player, select the New button and complete the pages for a new Player.
- To delete a Player, highlight it and click the Delete button. Ad Manager will request confirmation of the deletion prior to it being completed. Click <Yes> to complete the deletion.
- To view the properties of a Player, highlight it and click the Properties button. Users may also double click on a selected Player to view the details.
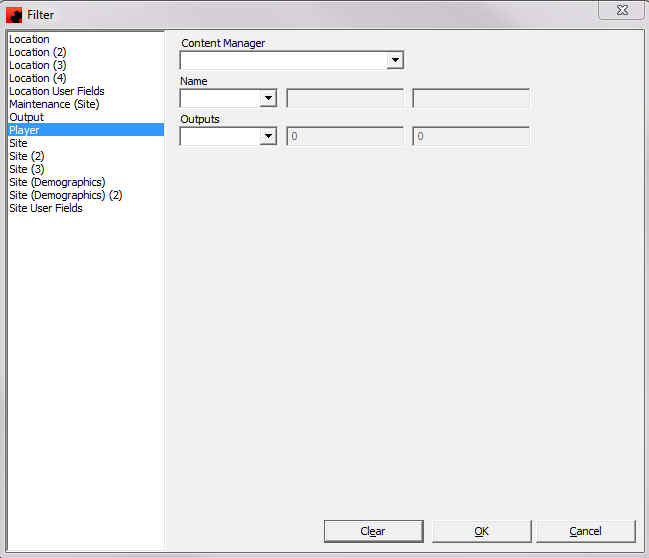
To filter the list of Players, in order to see a subset list, click the Filter checkbox at the top of the pane. ![]() In the following window enter the criteria for the desired Player(s), and click <OK>
In the following window enter the criteria for the desired Player(s), and click <OK>
Ad Manager will display those Players that match the criteria entered. When the Filter is active, a check mark will appear in the Filter box. To clear the Filter and see all records, click in the checkbox, and in the following window click <Clear>, followed by the <OK> button.
Layouts
Layouts define set of one or more Zones (Frames) that will display on digital screens. They are associated with one or more Channels for scheduling purposes.
Details
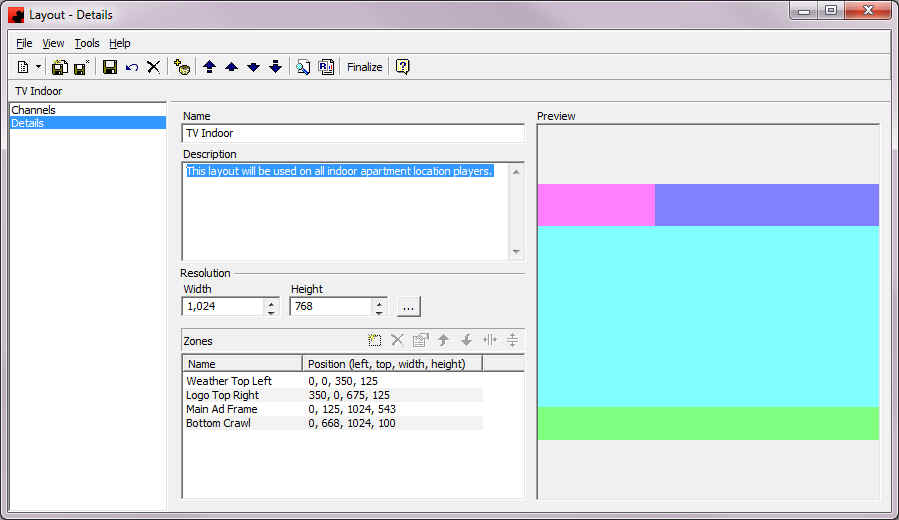
The following data will be entered on the Details page of each Layout that is identified in Ad Manager.
Name - In this field identify the Name for this particular Layout.
Description - This field can be used to further describe this particular Layout.
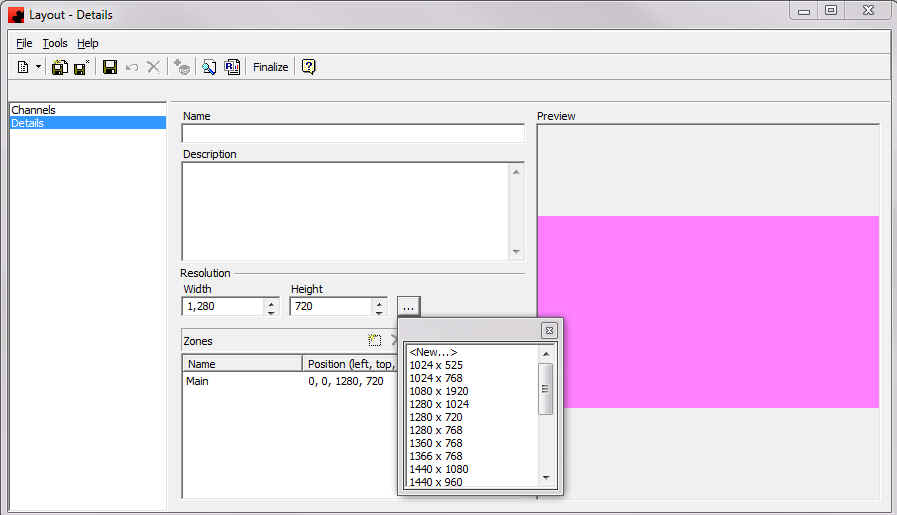
Resolution - Identify the Resolution for the Layout by clicking on the ellipses button to the right and selecting it from the list.
If the Resolution is not found in the list, click <New> at the top of the list, enter it in the following screen, then click <OK>
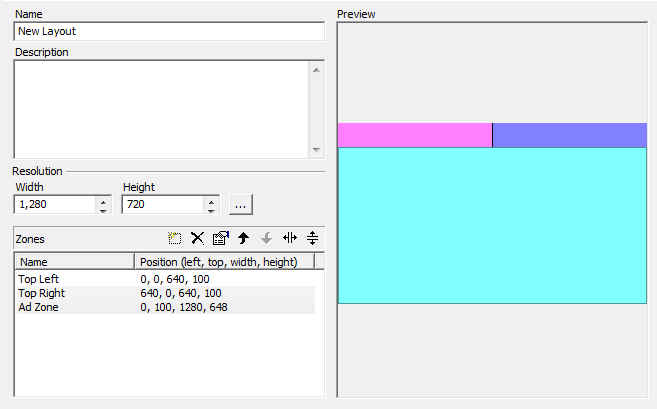
Zones - In the Zones pane identify the postioning of each Zone (Frame) of the Layout.
Users can add, delete, view the Properties/modify, change the positioning and split existing Zones. The Preview pane to the right will display the Zones as they are created.
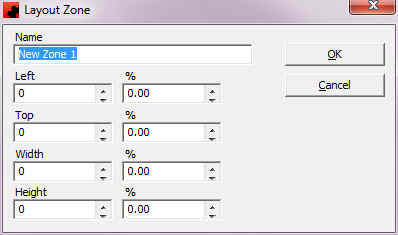
- Click the New button to add a new Zone to this Layout. In the following screen enter the Name for the new Zone and its position details.
- Click the delete button to delete a Zone from the Layout.
- Click the Properties button to view and/or edit the details of Zone.
![]() - Click the appropriate up or down arrow to reposition the selected Zone if it is to overlay or overlap with another.
- Click the appropriate up or down arrow to reposition the selected Zone if it is to overlay or overlap with another.
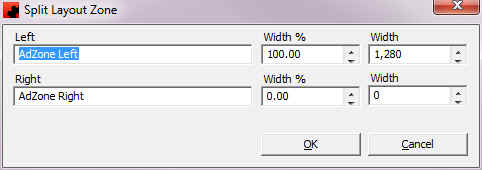
![]() - The Zones Split buttons are used to split an existing Zone either horizontally or vertically. Select the Zone to be split, click the appropriate button and in the following screen enter the portion %. To rename the newly created Zones, select the Zone and click the Properties button or double click to open the record.
- The Zones Split buttons are used to split an existing Zone either horizontally or vertically. Select the Zone to be split, click the appropriate button and in the following screen enter the portion %. To rename the newly created Zones, select the Zone and click the Properties button or double click to open the record.
Channels
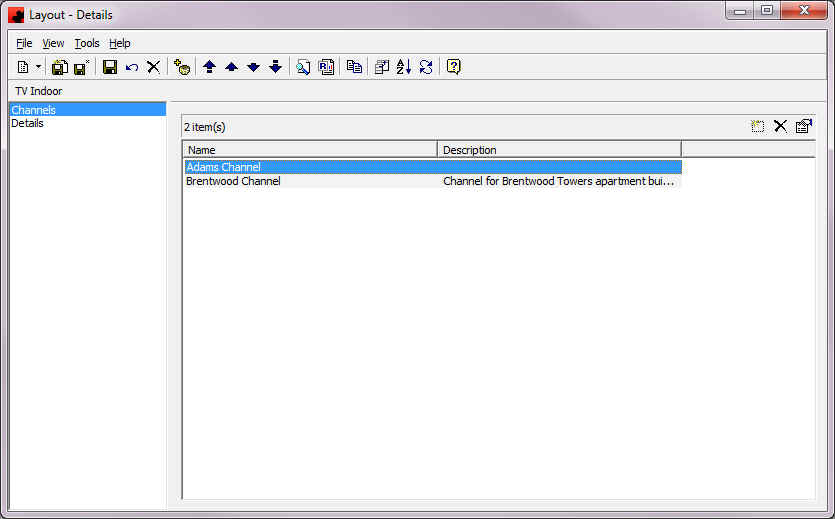
The Channels page displays a list of all Channels that are associated with this particular Layout.
As with other list pages in Ad Manager, the list can be sorted and the view can be customized to add/remove columns of data.
Users can add new Channels, delete existing ones and view details about existing Channels.
- To add a Channel, select the New button and complete the pages for a new Channel.
- To delete a Channel, highlight it and click the Delete button. Ad Manager will request confirmation of the deletion prior to it being completed. Click <Yes> to complete the deletion. If the Channel is being referenced by other Ad Manager objects it cannot be deleted.
- To view the properties of a Channel, highlight it and click the Properties button. Users may also double click on a selected Channel to view the details.
Finalizing Layouts
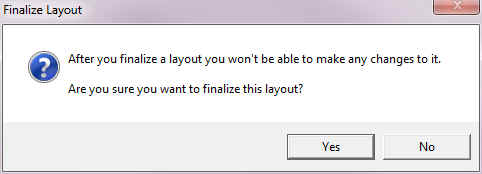
In order for a Layout to be published to Scala Content Manager, it must first be finalized so no changes can be made to it. To Finalize the Layout, click the Finalize button ![]() in the toolbar at the top of the window. In the following screen Ad Manager will ask for confirmation to finalize the Layout. Click <Yes> to complete the process.
in the toolbar at the top of the window. In the following screen Ad Manager will ask for confirmation to finalize the Layout. Click <Yes> to complete the process.
Please ensure that any scheduling that was created prior to the finalizing of the layout is manually republished.
Segments
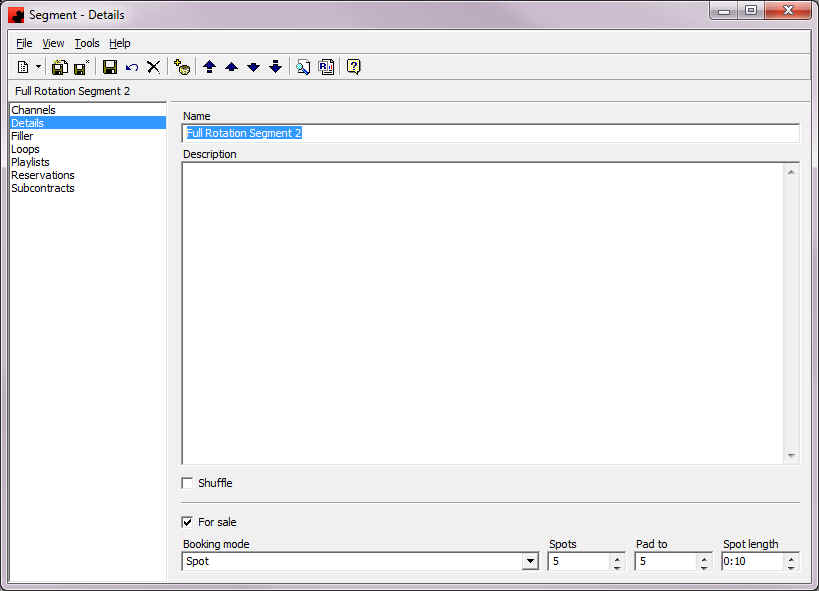
Segments are portions that when combined make a Loop. Each Loop in Ad Manager should have at least one Segment which can be identified as being "for sale" or not for sale (e.g. Content). It is advised that the Segments be determined prior to setting up the Loops.
Channels
Channels allow users to associate the Layout of Zones with Loops (and in turn, Loop Segments). They are associated with Player Outputs to allow users to sell and schedule Spots.
Legacy Connection
This page is used to maintain the login details for web services in Content Manager. It is required for playlist transmission. This option only appears if you selected Content Manager 10.x when installing Ad Manager.
