Using Billposter App
Below are instructions to use the Billposter app. Please note that versions 1.1 and later require Ad Manager Versions 5.7.4 or later. For instructions on how to set up the Billposter app, see how to set up the app.
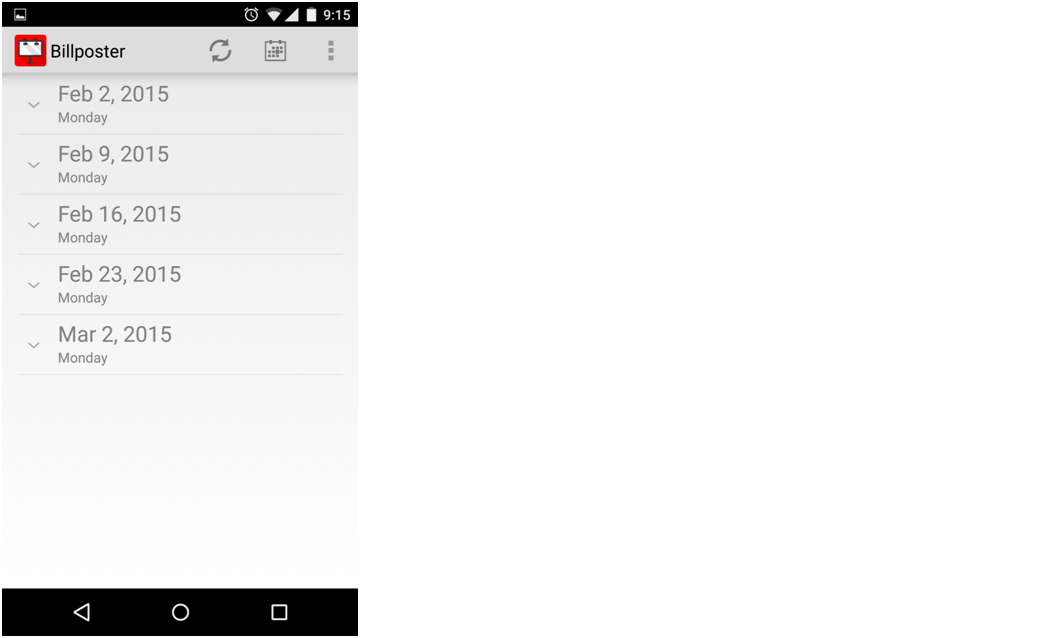
Once the Billposter opens the app, the data will be synchronized from the server and display a list of dates that have outstanding tasks assigned to them.
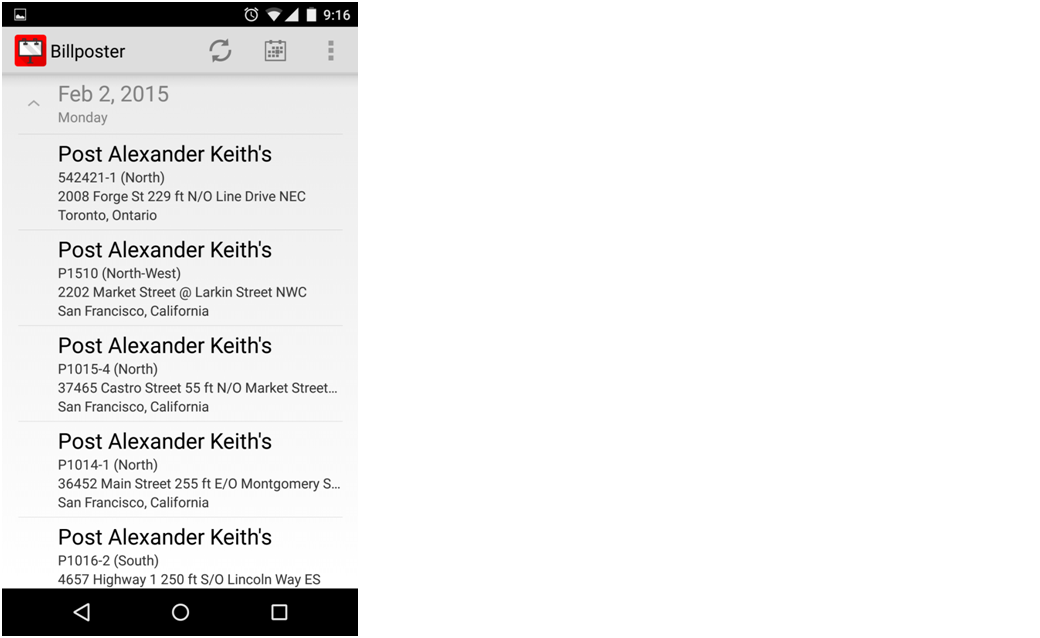
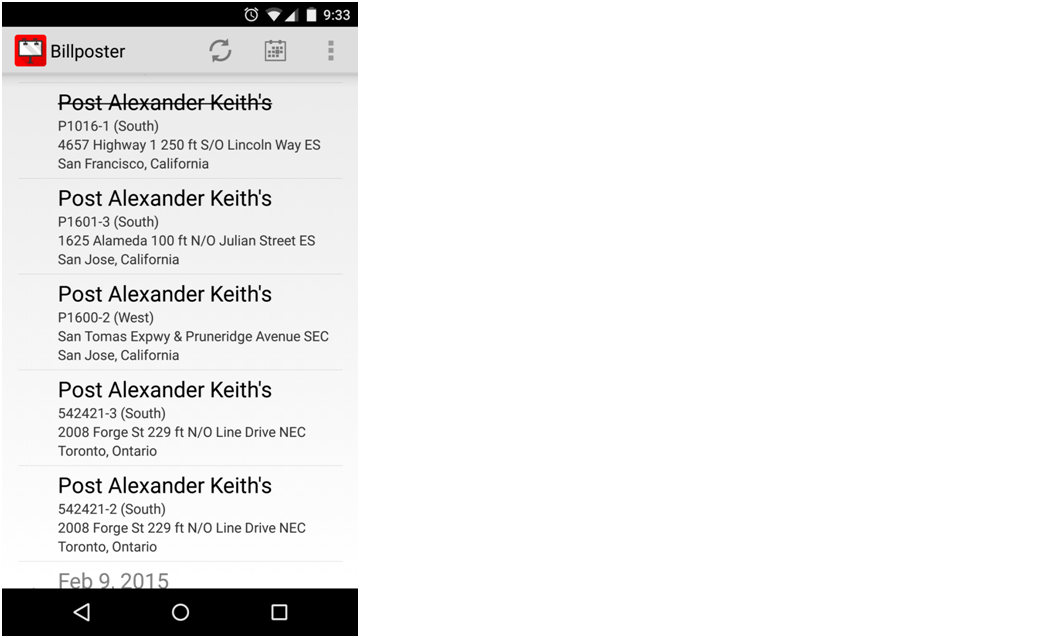
The user can click on any given date to see a list of all billposting tasks assigned to them for that date.If you have multiple dates in the list and have scrolled away from the current date, you can click the calendar icon in the top right corner to be taken to the current date.
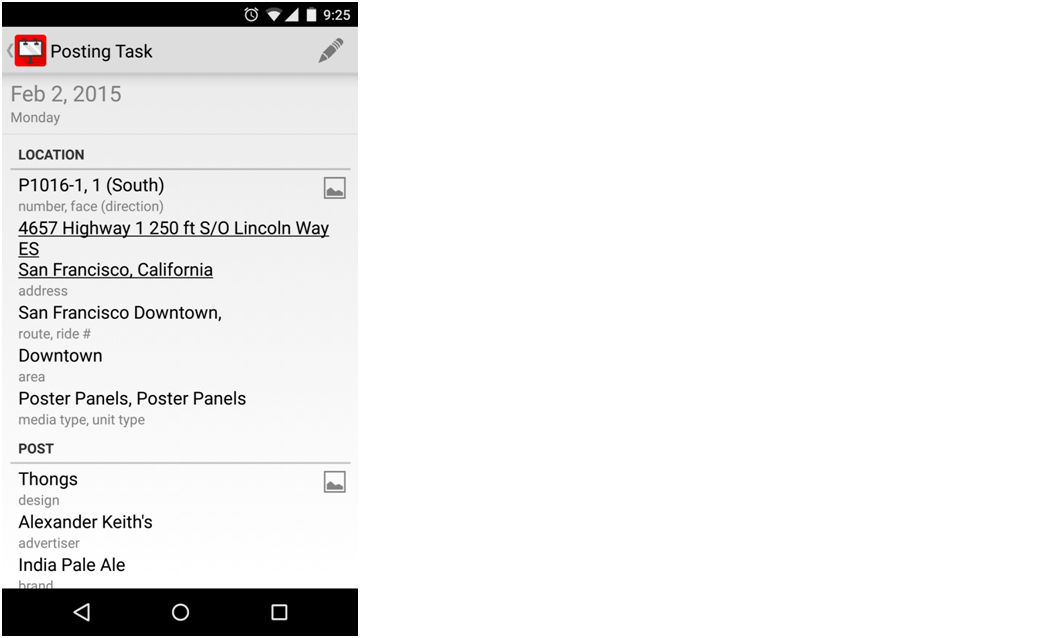
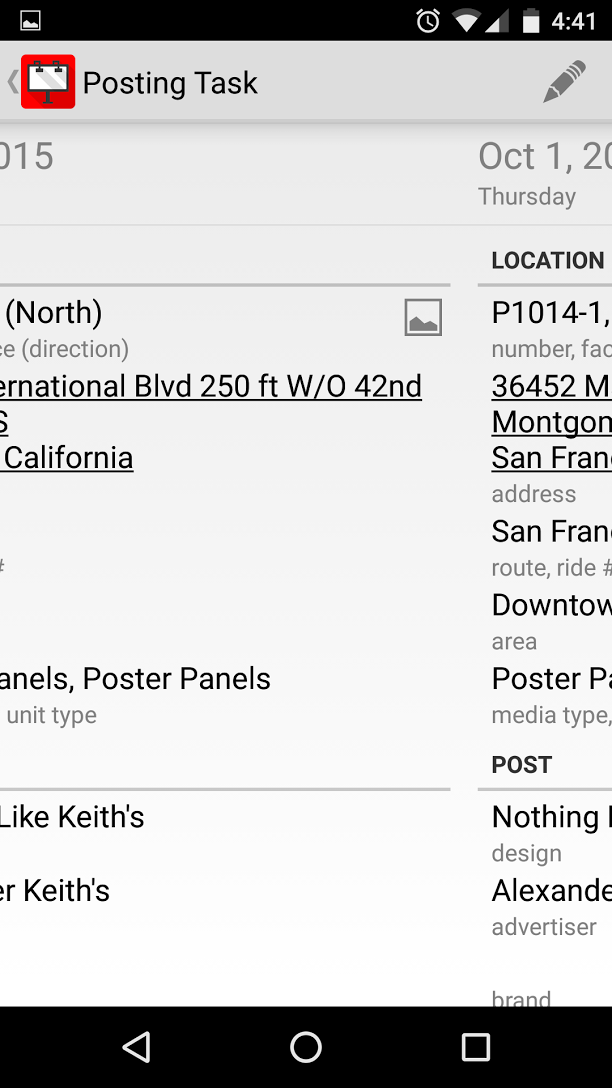
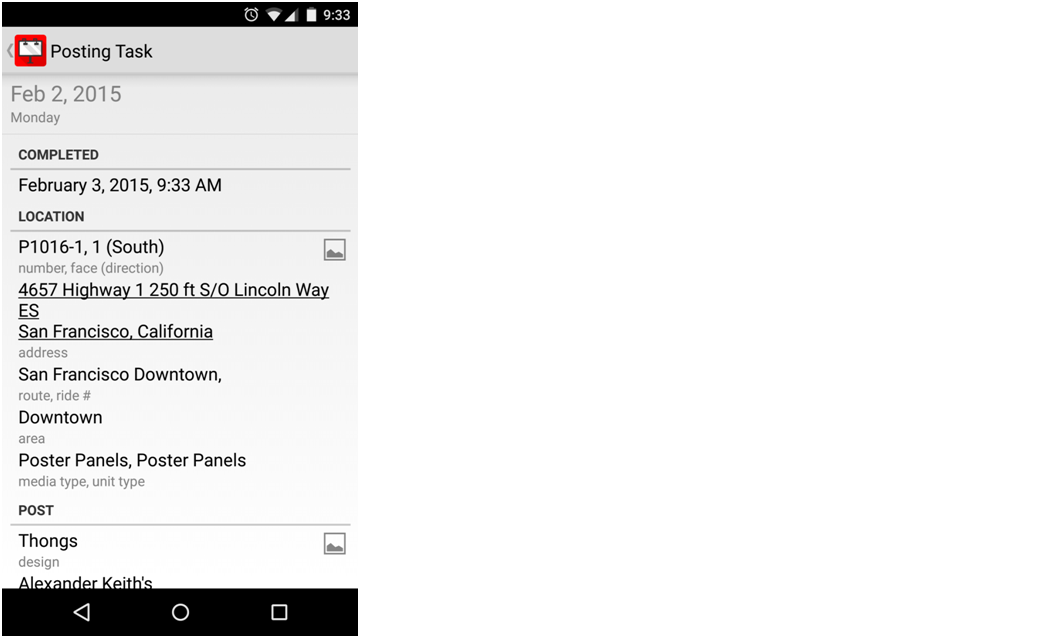
A user can click on a specific task to see the details about that particular task. This will show them location details, including the face number, whether there is an image of the location, the address, media type and posting route details.
The app also shows the creative to be posted (and if there is an image of the creative available), and what advertiser and brand is being posted.
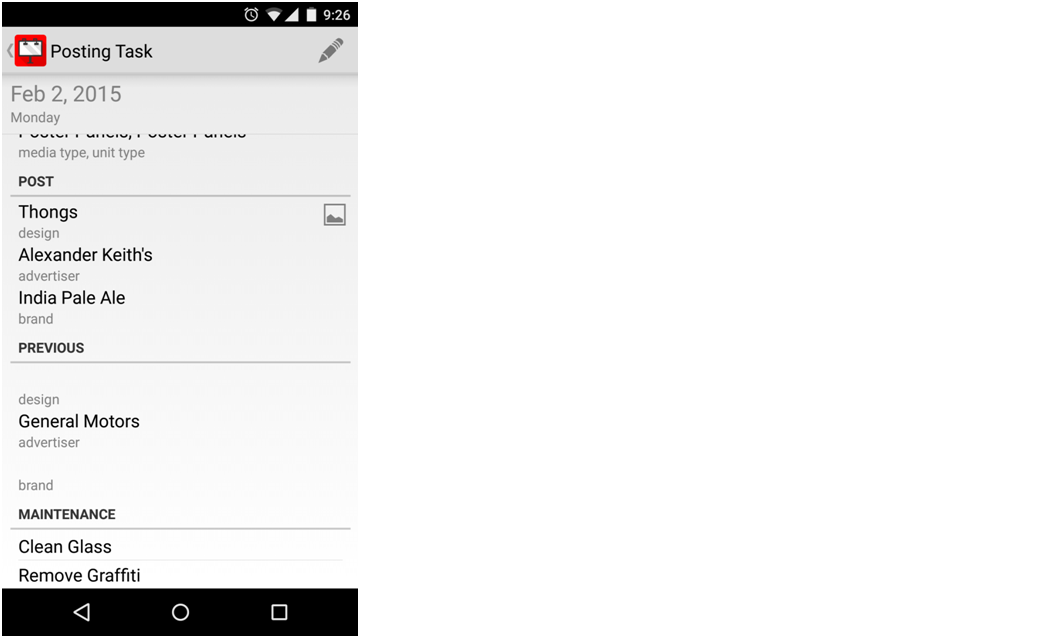
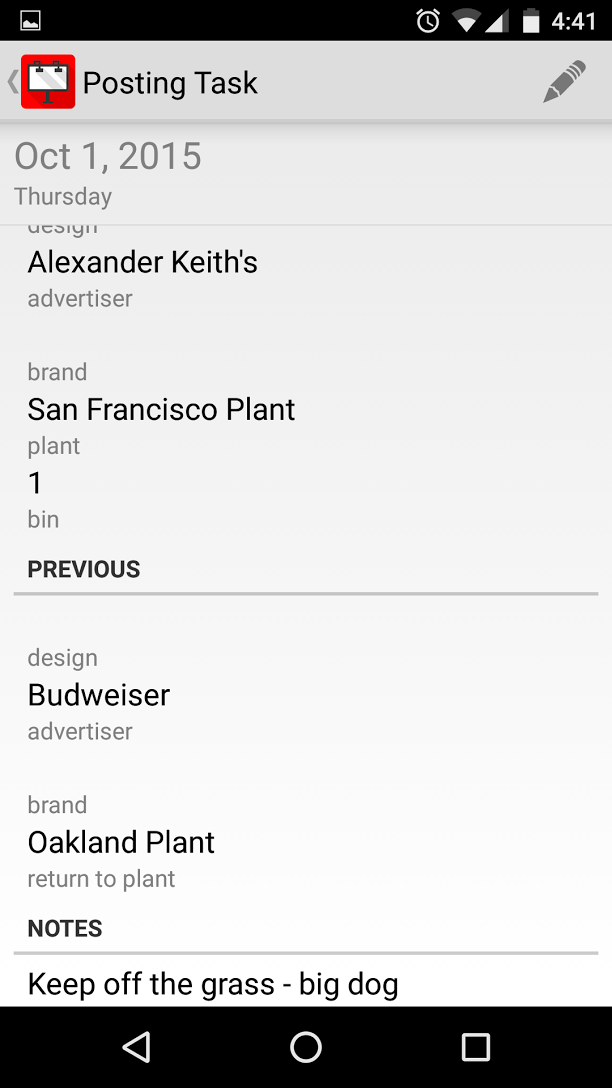
The user can scroll down to see additional information at the bottom, including the previous posting and any maintenance required at that location.
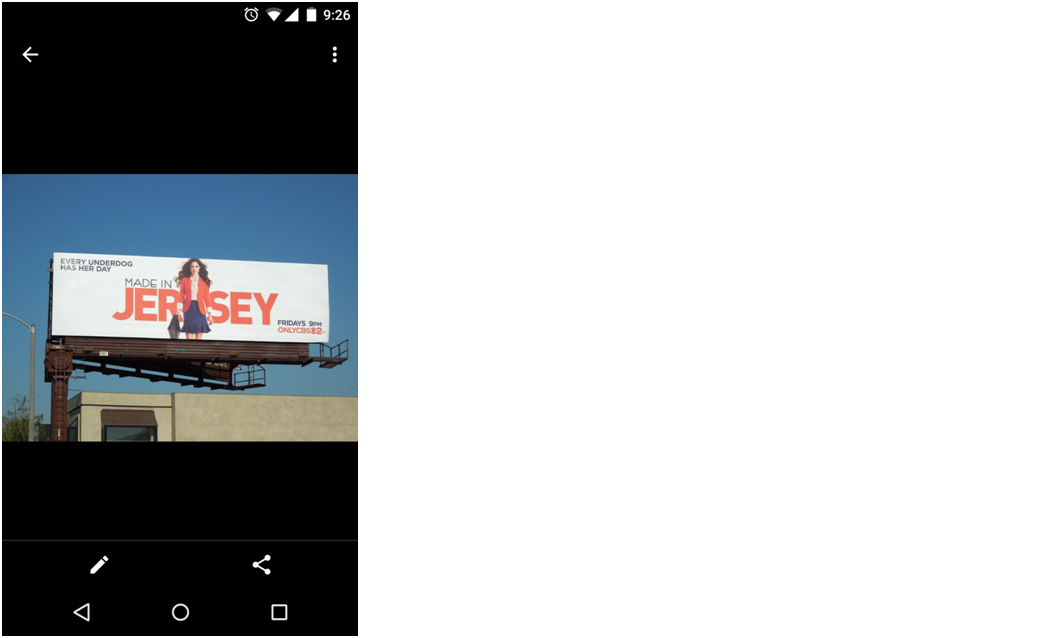
If the user clicks on the image icon next to the face number, they can see an image of what the face looks like. The image will rotate and resize if desired.
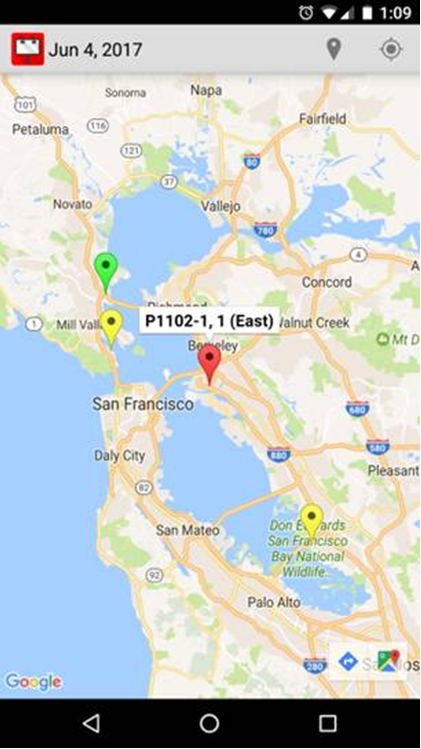
If the user clicks on the address, a map showing the location of the unit will appear, along with all other work for that day. The current location will be shown with a red marker, completed locations with green markers, and uncompleted locations with yellow markers. Clicking on a location will show information about the location. Clicking the directions icon () will allow you to get directions from your current location to the posting task currently being reviewed.
You can see the design's source plant and bin and the "return to" plant in the posting task details view.
You can browse the posting tasks by swiping left and right in the detail view;
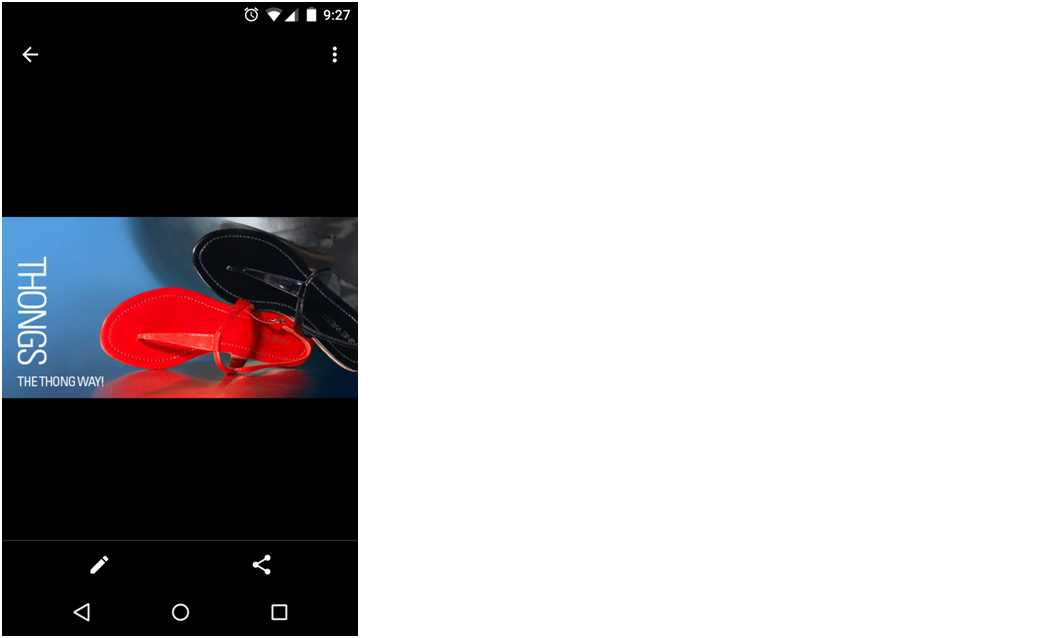
If the user clicks on the image icon next to the design to be posted, the image of the design will appear. The image will rotate and resize if desired.
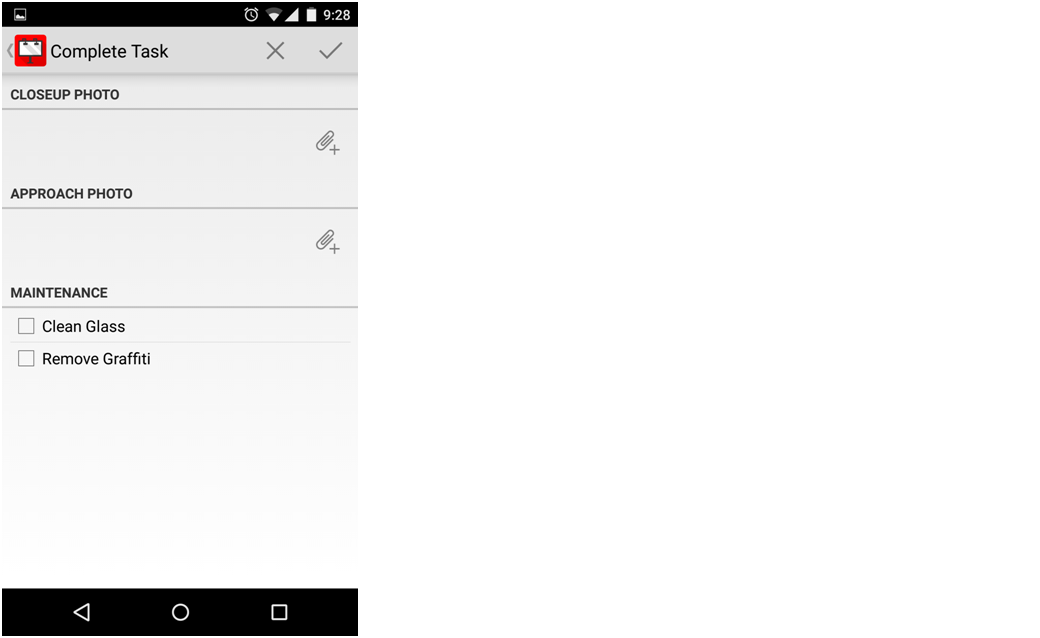
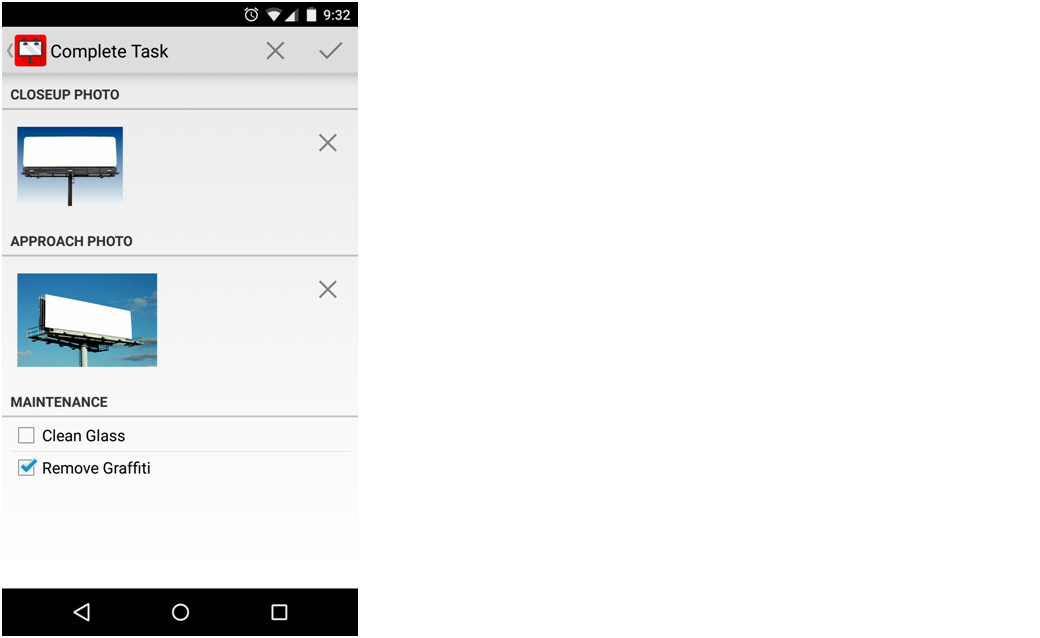
The Billposter App allows you to set whether you must have a closeup and/or approach photo as part of your Proof of Performance. When the user clicks the pencil icon in the top right corner, they can take the closeup and approach photos for the completed posting as appropriate. They can also mark any maintenance tasks they have completed during their time at this location.
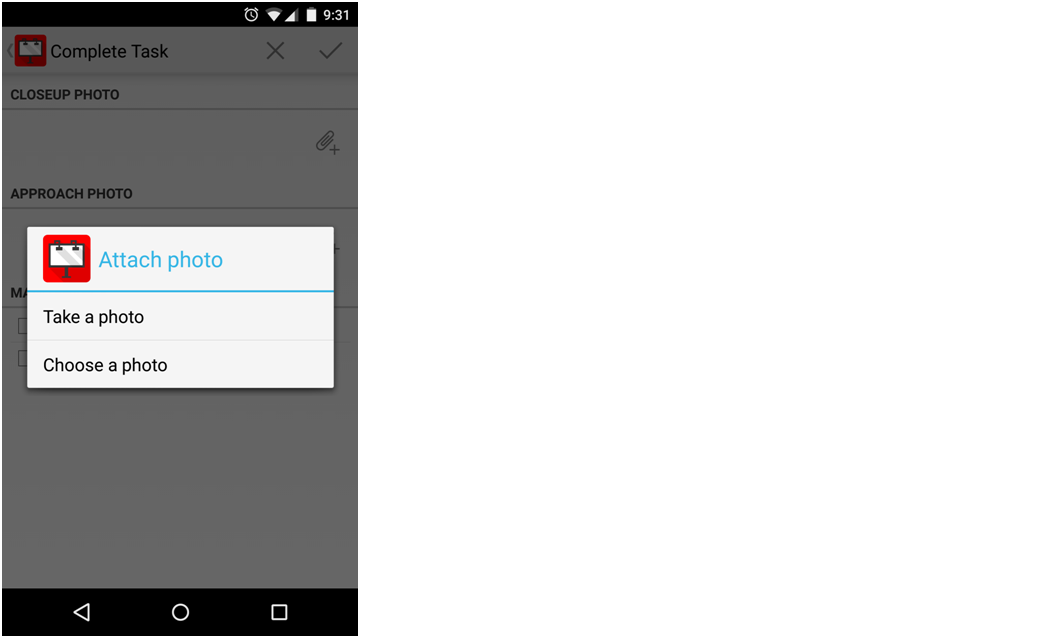
The user clicks on the paperclip icon for the appropriate item and can either take a photo or use a photo they have already taken.
After the user has taken the POP photos and marked any maintenance completed, they can preview the completion information prior to submission.
If everything is ready to submit, they click the check mark icon in the top right corner to complete the task. The Billposter App will send the completion information (including date and time completed) to Ad Manager immediately or, if connectivity is not available, when connectivity is re-established.
When the user clicks on the Billposter app icon at the top left, they will be taken to the list of tasks to be completed for the day, and any completed items will be crossed off.
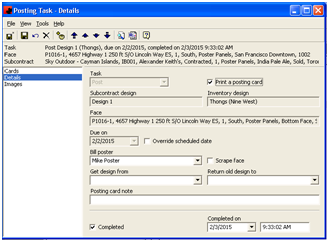
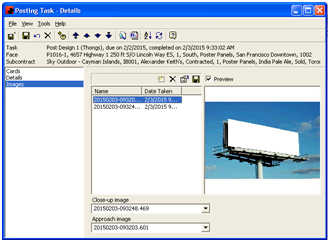
In Ad Manager, the posting task information will be populated as appropriate, as will the POP images. Any completed maintenance tasks will also be marked.
