Difference between revisions of "Billposter App"
| Line 1: | Line 1: | ||
| − | + | ||
| − | + | The Dot2Dot Communications Billposter App allows users to retrieve their posting instructions via a connection to the internet. Each device is set up to point to the Ad Manager server and allows the user to select the appropriate billposter. Once the Billposter opens the app, the data will be synchronized from the server and display a list of dates that have outstanding tasks assigned to them. | |
| − | + | ||
| − | + | == Application setup == | |
| − | + | * You will need an Android device | |
| − | + | * Go to your Android device and access the home screen | |
| − | + | * Under Apps, Find Settings | |
| − | + | * Under Settings, go to Security. | |
| − | + | * Under Security turn off Unknown sources: allow installation of apps that may cause harm. | |
| − | + | * Click on the Billposter app icon | |
| − | + | [[File:BillposterAppIcon.png]] | |
| − | + | * Enter an account name. This is a descriptive name that you want to use for reference purposes. Then click Next. | |
| − | + | [[File:AccountName.png]] | |
| − | + | * Enter the address of the Billposter App server. If you see an message at the bottom “Failed to connect to server”, check to make sure you have entered the information exactly as shown. If you have, please contact your system administrator. | |
| + | [[File:ServerName.png]] | ||
| + | * Enter your login credentials. enter the supplied user Id on the first line (User Id) and supplied password on the second line (password), exactly as written, as this is case sensitive and click Next. If you see a message “Failed to log you in”, make sure you have entered this information correctly. If you have, please contact your system administrator. | ||
| + | [[File:LoginName.png]] | ||
| + | * At this point, you will be shown a screen where you can select a billposter. The first billposter on the list is shown by default. To change the billposter, click on the billposter name shown. | ||
| + | [[File:Billposter1.png]] | ||
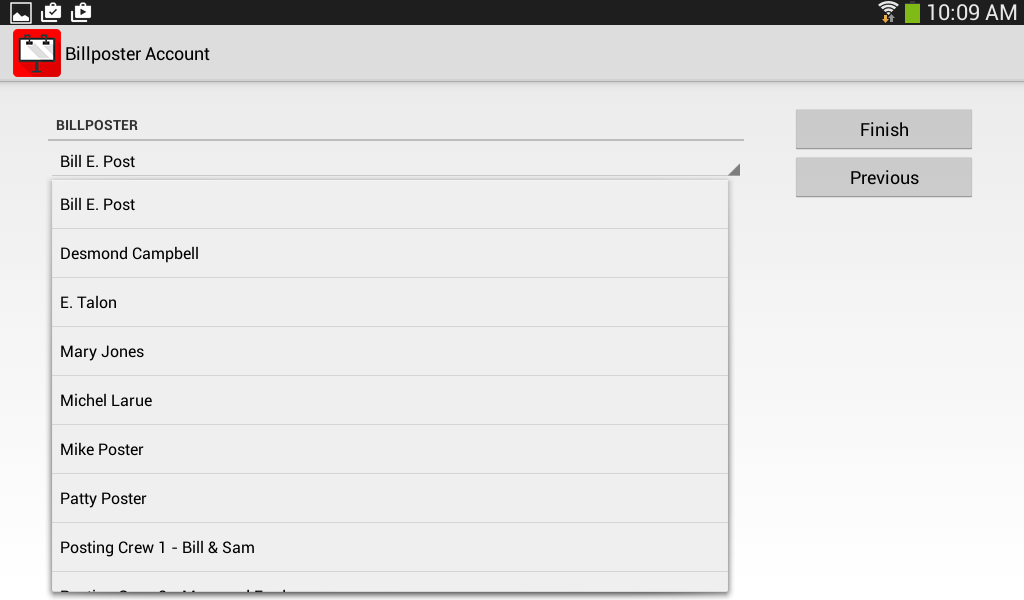
| + | * From the list, select your name. | ||
| + | [[File:BillposterSelection.png]] | ||
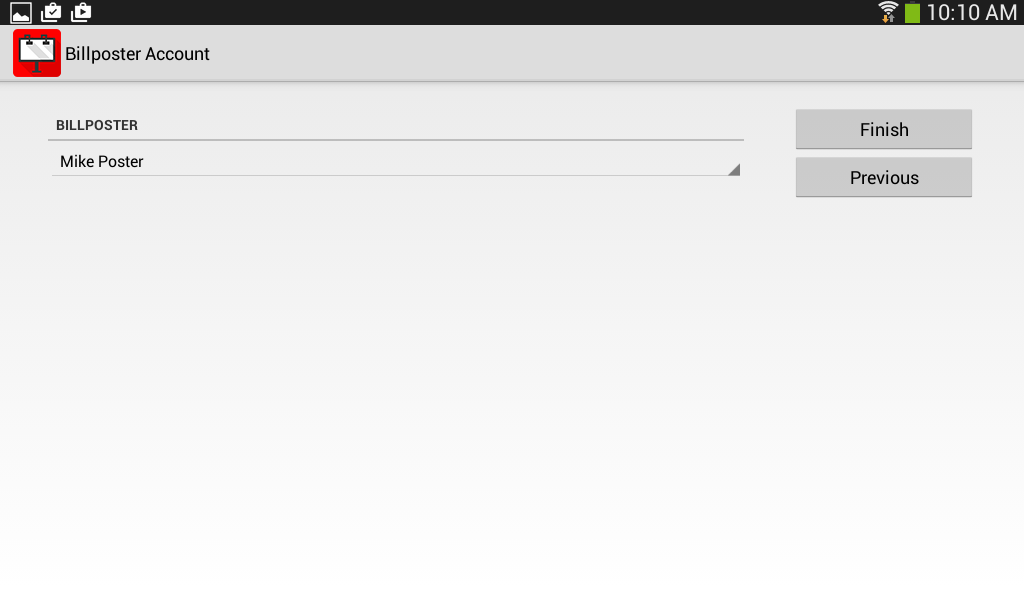
| + | * Once you have selected your name, click Finish. | ||
| + | [[File:Billposter2.png]] | ||
| + | * You will see a blank screen. In the top right corner is a refresh button. This will load your posting tasks. | ||
| + | File:Sync.png | ||
| + | * Refresh, wait for the sync to complete and you should see posting tasks | ||
Note: If a firewall is in place, make sure to open ports 80 and 8080 | Note: If a firewall is in place, make sure to open ports 80 and 8080 | ||
| + | |||
| + | == Using the app == | ||
| + | |||
| + | The user can click on any given date to see a list of all billposting tasks assigned to them for that date. | ||
| + | |||
| + | |||
| + | A user can click on a specific task to see the details about that particular task. This will show them location details, including the face number, whether there is an image of the location, the address, media type and posting route details. | ||
| + | The app also shows the creative to be posted (and if there is an image of the creative available), and what advertiser and brand is being posted. | ||
| + | |||
| + | |||
| + | |||
| + | The user can scroll down to see additional information at the bottom, including the previous posting and any maintenance required at that location. | ||
| + | |||
| + | |||
| + | If the user clicks on the image icon next to the face number, they can see an image of what the face looks like. The image will rotate and resize if desired. | ||
| + | |||
| + | |||
| + | If the user clicks on the address, a map showing the location of the unit will appear. | ||
| + | |||
| + | |||
| + | If the user clicks on the image icon next to the design to be posted, the image of the design will appear. The image will rotate and resize if desired. | ||
| + | |||
| + | |||
| + | The Billposter App allows you to set whether you must have a closeup and/or approach photo as part of your Proof of Performance. | ||
| + | When the user clicks the pencil icon in the top right corner, they can take the closeup and approach photos for the completed posting as appropriate. They can also mark any maintenance tasks they have completed during their time at this location. | ||
| + | |||
| + | |||
| + | The user clicks on the paperclip icon for the appropriate item and can either take a photo or use a photo they have already taken. | ||
| + | |||
| + | |||
| + | After the user has taken the POP photos and marked any maintenance completed, they can preview the completion information prior to submission. | ||
| + | |||
| + | |||
| + | If everything is ready to submit, they click the check mark icon in the top right corner to complete the task. The Billposter App will send the completion information (including date and time completed) to Ad Manager immediately or, if connectivity is not available, when connectivity is re-established. | ||
| + | |||
| + | |||
| + | When the user clicks on the Billposter app icon at the top left, they will be taken to the list of tasks to be completed for the day, and any completed items will be crossed off. | ||
| + | |||
| + | |||
| + | In Ad Manager, the posting task information will be populated as appropriate, as will the POP images. Any completed maintenance tasks will also be marked. | ||
Revision as of 09:12, 12 March 2015
The Dot2Dot Communications Billposter App allows users to retrieve their posting instructions via a connection to the internet. Each device is set up to point to the Ad Manager server and allows the user to select the appropriate billposter. Once the Billposter opens the app, the data will be synchronized from the server and display a list of dates that have outstanding tasks assigned to them.
Application setup
- You will need an Android device
- Go to your Android device and access the home screen
- Under Apps, Find Settings
- Under Settings, go to Security.
- Under Security turn off Unknown sources: allow installation of apps that may cause harm.
- Click on the Billposter app icon
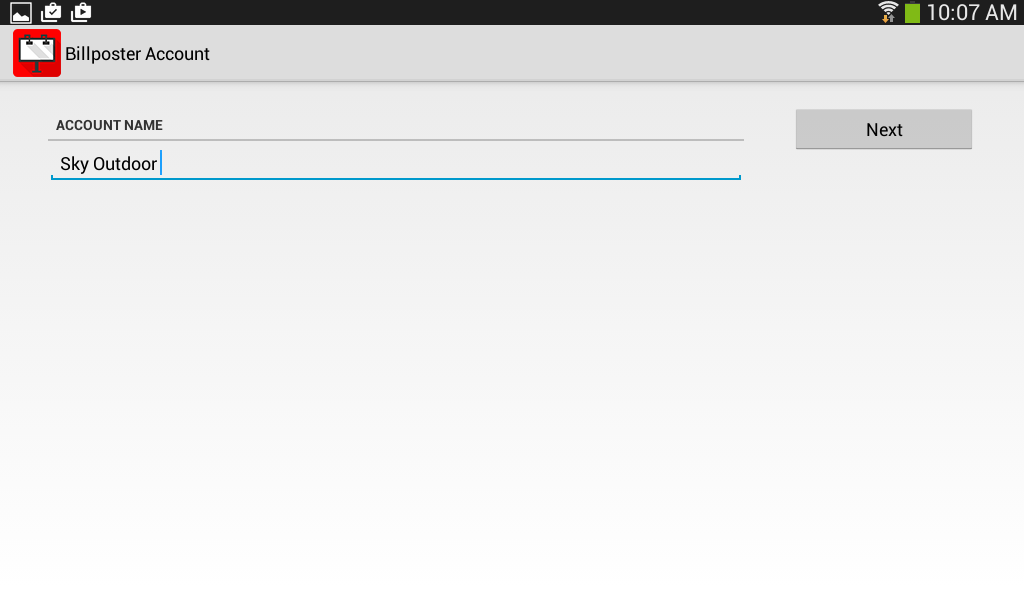
- Enter an account name. This is a descriptive name that you want to use for reference purposes. Then click Next.
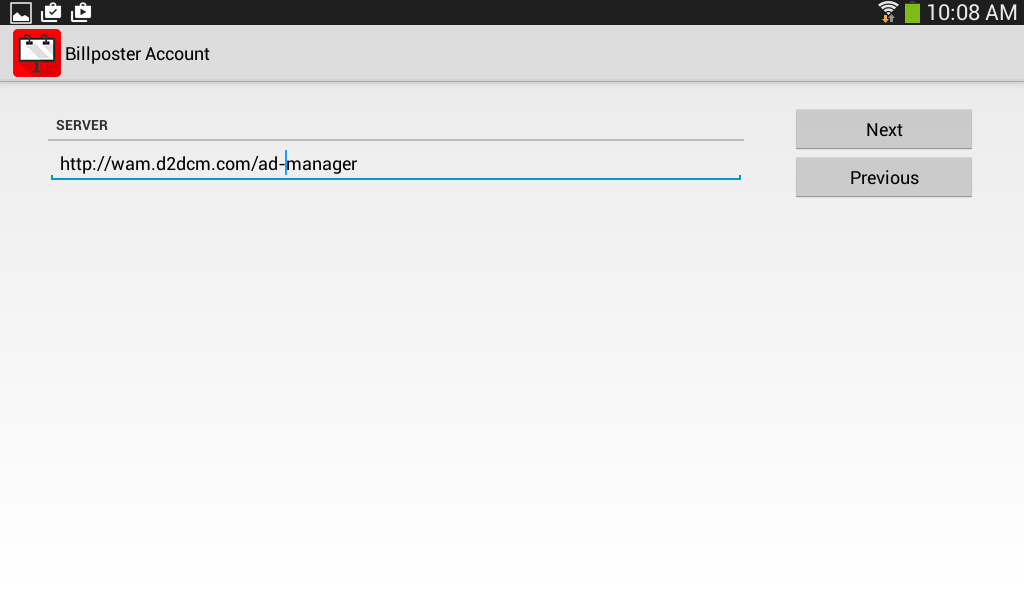
- Enter the address of the Billposter App server. If you see an message at the bottom “Failed to connect to server”, check to make sure you have entered the information exactly as shown. If you have, please contact your system administrator.
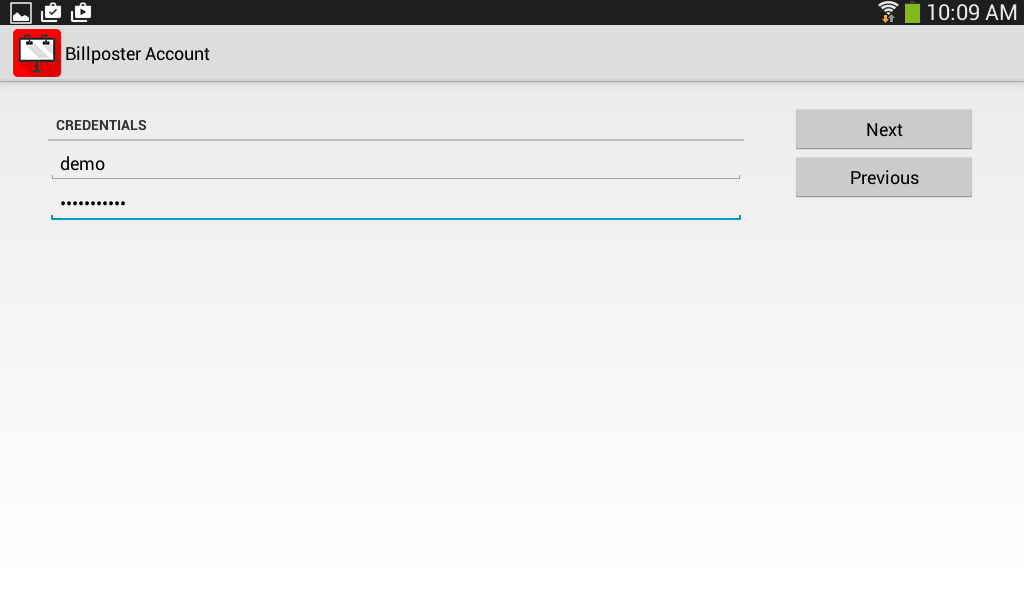
- Enter your login credentials. enter the supplied user Id on the first line (User Id) and supplied password on the second line (password), exactly as written, as this is case sensitive and click Next. If you see a message “Failed to log you in”, make sure you have entered this information correctly. If you have, please contact your system administrator.
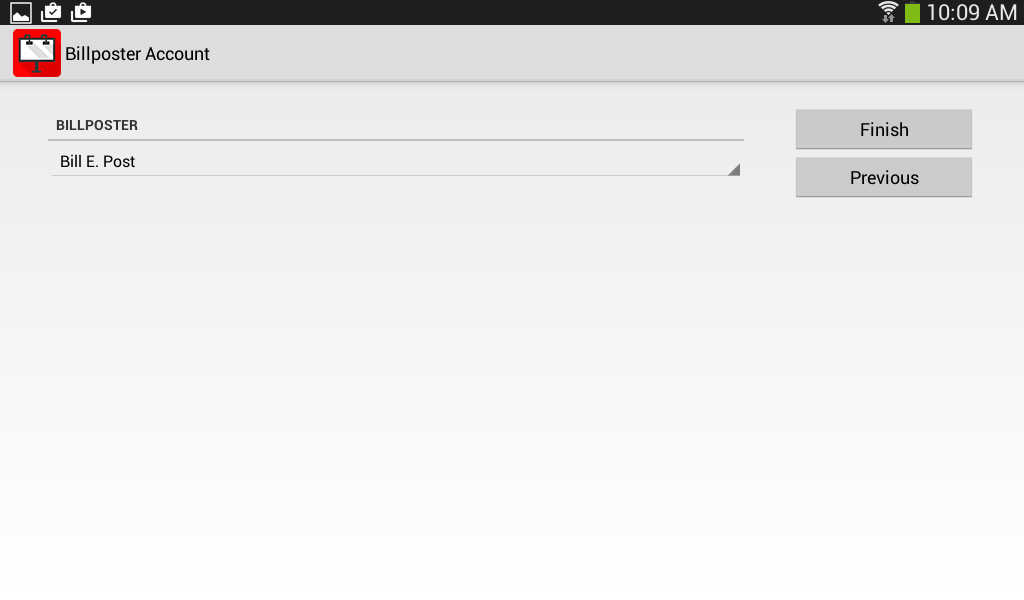
- At this point, you will be shown a screen where you can select a billposter. The first billposter on the list is shown by default. To change the billposter, click on the billposter name shown.
- From the list, select your name.
- Once you have selected your name, click Finish.
- You will see a blank screen. In the top right corner is a refresh button. This will load your posting tasks.
File:Sync.png
- Refresh, wait for the sync to complete and you should see posting tasks
Note: If a firewall is in place, make sure to open ports 80 and 8080
Using the app
The user can click on any given date to see a list of all billposting tasks assigned to them for that date.
A user can click on a specific task to see the details about that particular task. This will show them location details, including the face number, whether there is an image of the location, the address, media type and posting route details. The app also shows the creative to be posted (and if there is an image of the creative available), and what advertiser and brand is being posted.
The user can scroll down to see additional information at the bottom, including the previous posting and any maintenance required at that location.
If the user clicks on the image icon next to the face number, they can see an image of what the face looks like. The image will rotate and resize if desired.
If the user clicks on the address, a map showing the location of the unit will appear.
If the user clicks on the image icon next to the design to be posted, the image of the design will appear. The image will rotate and resize if desired.
The Billposter App allows you to set whether you must have a closeup and/or approach photo as part of your Proof of Performance. When the user clicks the pencil icon in the top right corner, they can take the closeup and approach photos for the completed posting as appropriate. They can also mark any maintenance tasks they have completed during their time at this location.
The user clicks on the paperclip icon for the appropriate item and can either take a photo or use a photo they have already taken.
After the user has taken the POP photos and marked any maintenance completed, they can preview the completion information prior to submission.
If everything is ready to submit, they click the check mark icon in the top right corner to complete the task. The Billposter App will send the completion information (including date and time completed) to Ad Manager immediately or, if connectivity is not available, when connectivity is re-established.
When the user clicks on the Billposter app icon at the top left, they will be taken to the list of tasks to be completed for the day, and any completed items will be crossed off.
In Ad Manager, the posting task information will be populated as appropriate, as will the POP images. Any completed maintenance tasks will also be marked.
